Although installing and configuring Linux is not a difficult task, but sometimes entering the wrong command can lead to some errors that you will find difficult to solve.
It’s good when there is a backup copy of the system, with the help of it you can easily restore the system to an earlier point when everything worked, this can be done using TimeShift.
What is Linux TimeShift Program?
Like Windows System Restore and macOS Time Machine, Linux also has a tool called TimeShift. We can easily install this Linux system restore or backup tool on Ubuntu, Linux Mint, and Debian. The key task of the tool is to create snapshots of the Linux file system that restore a previous state when restored.
The user Linux backup tool only creates differential backups and use storage space sparingly. Recovery points share common, unmodified files so they are not saved multiple times. Nevertheless, each snapshot contains a complete backup set, which can also be searched with a file manager, since identical files are represented by hard links. The first backup point is always a complete backup of the system directories and is quite large at a few gigabytes.
TimeShift uses Rsync to work in the background quietly to take care of system files and leaves users’ personal files in their home directories untouched, but also backs up their configuration files. Restoring a previous system status does not overwrite any documents, but also restores user settings. Also, supports the BTRFS Snapshot mode.
1. Update Ubuntu
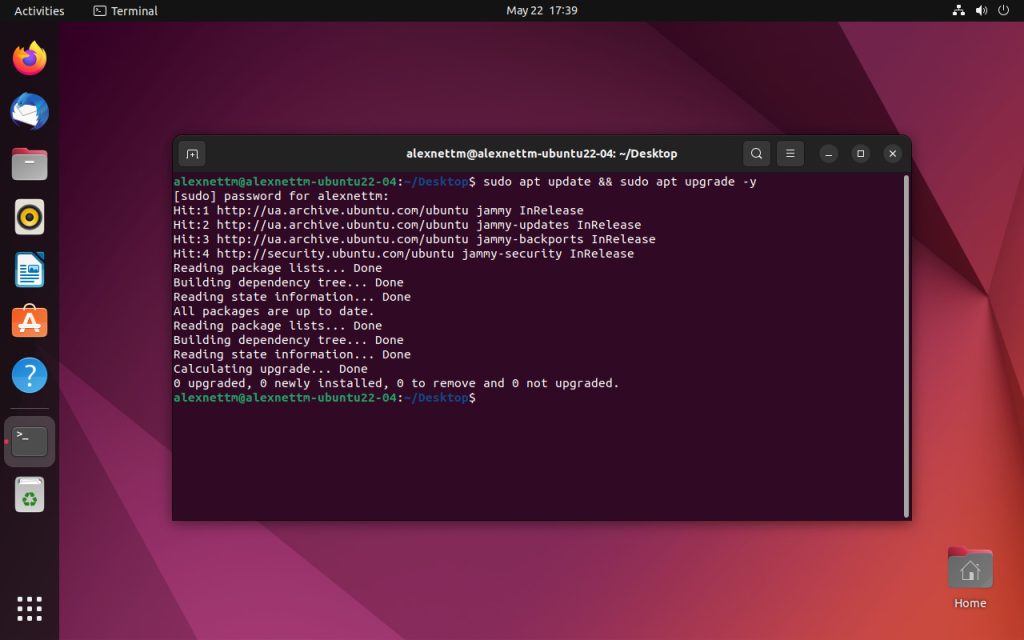
First, before you begin, make sure your system is up-to-date by using the following terminal command.
$ sudo apt update && sudo apt upgrade -y
2. Install TimeShift on Ubuntu
We don’t need to add any extra repository to install TimeShift because we already have its packages in our Ubuntu’s default system repo.
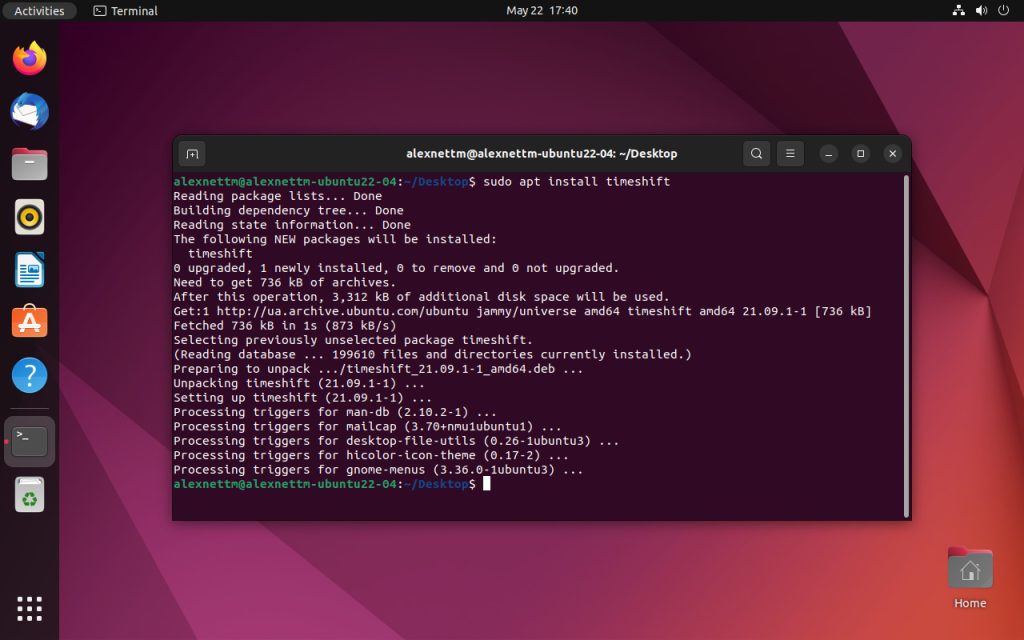
Begin the installation using the following terminal command.
$ sudo apt install timeshift
3. Run TimeShift Application
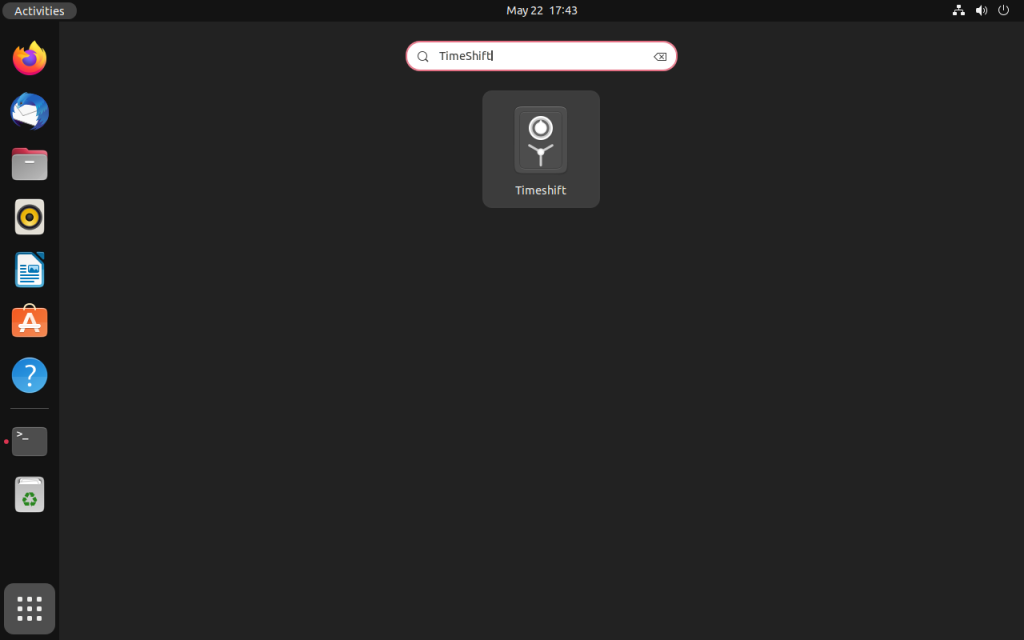
Once installed, the backup software can be found in the following path Activities > Show Applications > TimeShift.
To run it, the system will ask you to enter your user password.
4. Select SnapShot Type
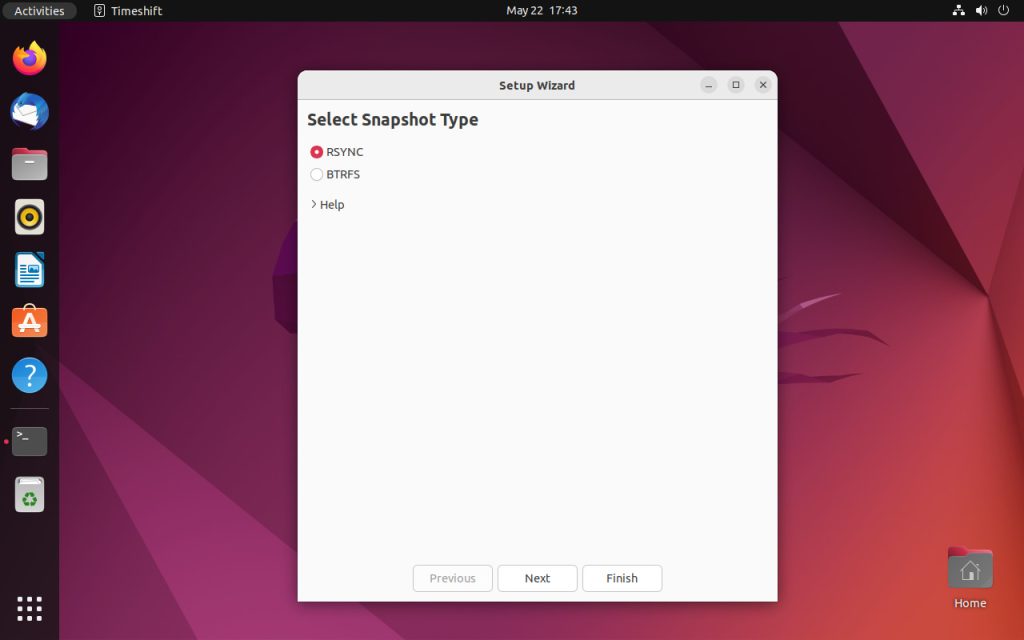
As this backup program is launched on your system, it will ask you to select the snapshot type between Rsync and BTRS. By default, Rsync will be selected. Go through the below-given details and select one of your choices.
To use the BTRFS snapshot type your Linux file system must be formatted in BTRFS. Otherwise, go for rsync.RSYNC Snapshots
- Snapshots are created by creating copies of system files using rsync, and hard-linking unchanged files from the previous snapshots.
- All files are copied when the first snapshot is created. Subsequent snapshots are incremental. Unchanged files will be hard-linked from the previous snapshot if available.
- Snapshots can be saved to any disk formatted with a Linux file system. Saving snapshots to non-system or external disks allows the system to be restored even if the system disk is damaged or re-formatted.
- Files and directories can be excluded to save disk space.
BTRFS snapshots
- Snapshots are created using the built-in features of the BTRFS file system.
- Snapshots are created and restored instantly. Snapshot creation is an atomic transaction at the file system level.
- Snapshots are restored by replacing system subvolumes. Since files are never copied, deleted, or overwritten, there is no risk of data loss. The existing system is preserved as a new snapshot after restore.
- Snapshots are perfect, byte-for-byte copies of the system. Nothing is excluded.
- Snapshots are saved on the same disk from which they are created (system disk). Storage on other disks is not supported. If the system disk fails then snapshots stored on it will be lost along with the system.
- Size of BTRFS snapshots is initially zero. As system files gradually change with time, data gets written to new data blocks which take up disk space (copy-on-write). Files in the snapshot continue to point to disk space (copy-on-write). Ales in the snapshot continue to point to original data blocks.
- OS must be installed on a BTRFS partition with Ubuntu-type subvolume layout (@ and @home subvolumes). Other layouts are not supported.
Know more about this tool at its GitHub Page.
5. Create Snapshots with TimeShift
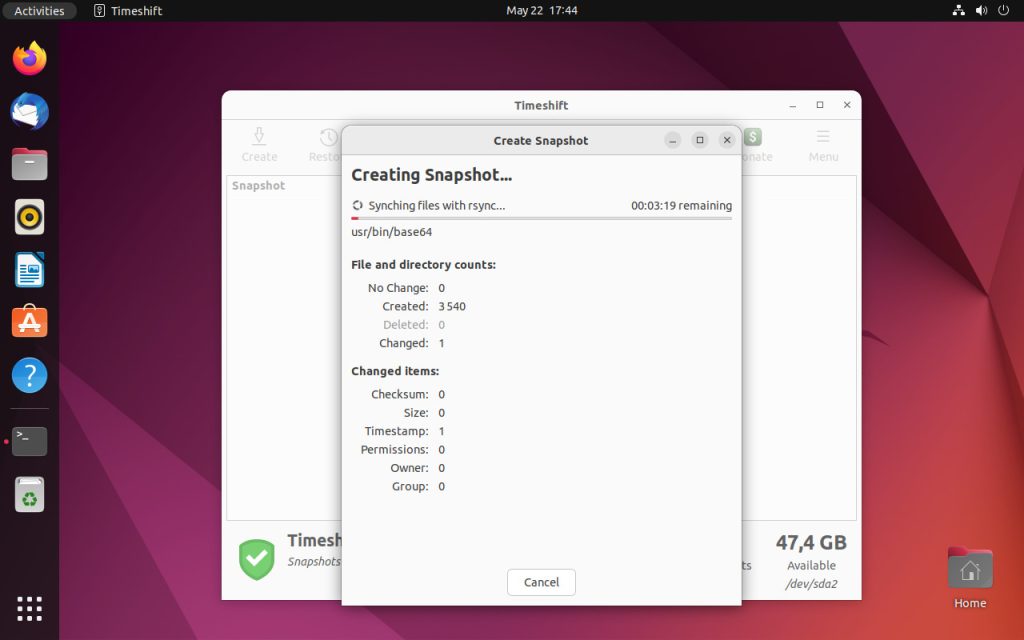
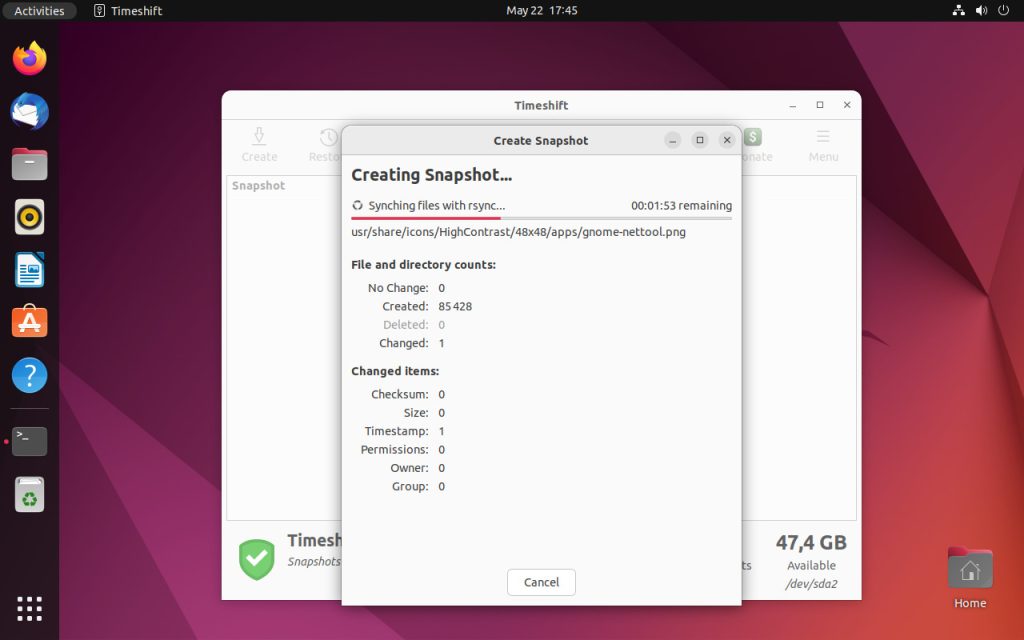
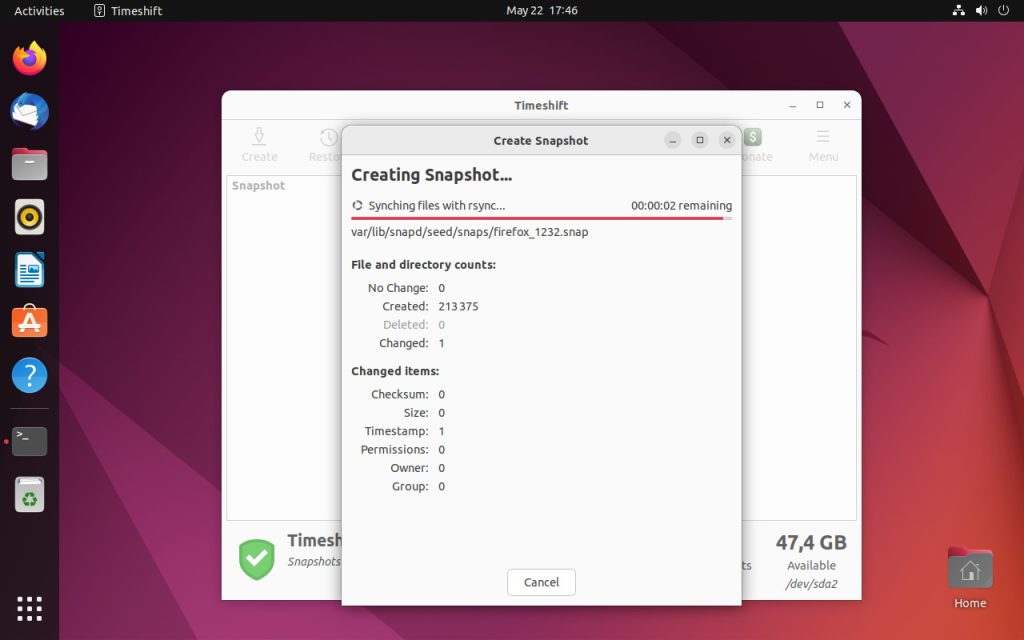
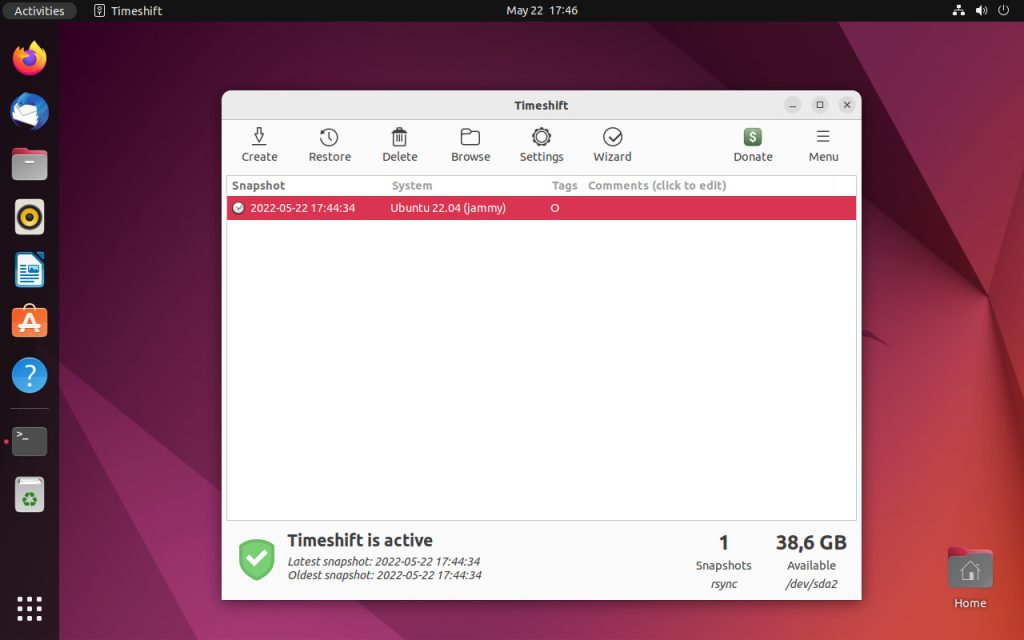
Once you have the graphical user interface of the TimeShift, click on the Create button to start with your first system’s Snapshot.
6. To schedule System backup
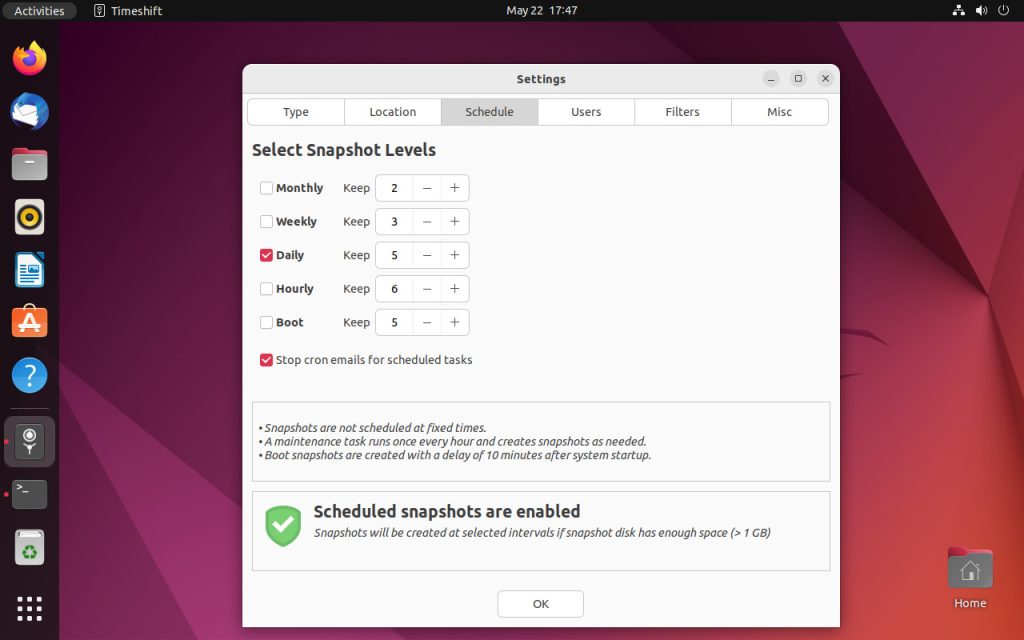
If you want the Timeshift to automatically take the system’s snapshot at some particular given time, then use the Schedule option of this tool.
- Click on the Setting option given in the Menu.
- Select Schedule Tab.
- Set the backup frequency you want.
7. How to update TimeShift
Well, we have used the APT package manager and system’s default repository to install TimeShift, hence running the system update and upgrade command will also install if any latest version of TimeShift is available.
$ sudo apt update && sudo apt upgrade -y
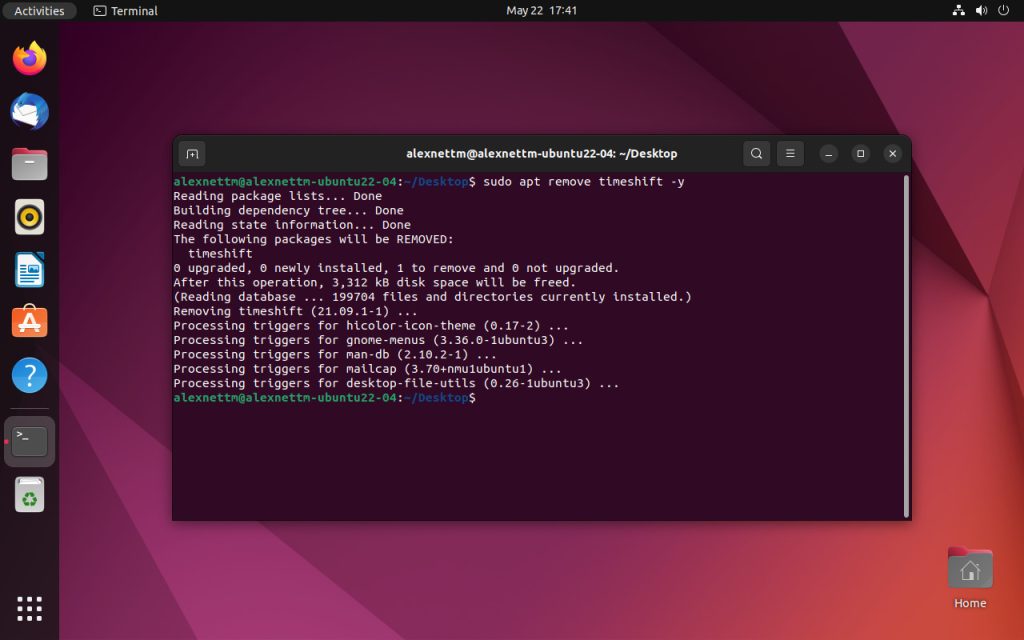
8. How to Remove (Uninstall) TimeShift
This can be easily removed using the following command for users who no longer need or require the backup software.
$ sudo apt remove timeshift -y
Conclusion
TimeShift is an excellent addition to helping Linux users back up from bad software installations; typically, if your hard drive has space keeping a few snapshots can be pretty handy when diagnosing when some.
 Windows 11: How to enable tabs for File Explorer
 Ubuntu 22.04.1 LTS to be released with Intel AMX support and other fixes