TeamViewer is comprehensive remote access, remote control, and remote support solution that works with almost every desktop and mobile platform, including Windows, macOS, Android, iOS, and Linux-based systems such as Ubuntu 22.04. TeamViewer lets you remote into computers or mobile devices located anywhere in the world and use them as though you were there.
In this article, we’ll walk you through a step-by-step guide on how to install and use TeamViewer on Ubuntu 22.04. So, let’s begin!
1. Install TeamViewer on Ubuntu 22.04
You must follow the below-given step-by-step instructions for installing TeamViewer on Ubuntu 22.04.
1.1 Update system repositories
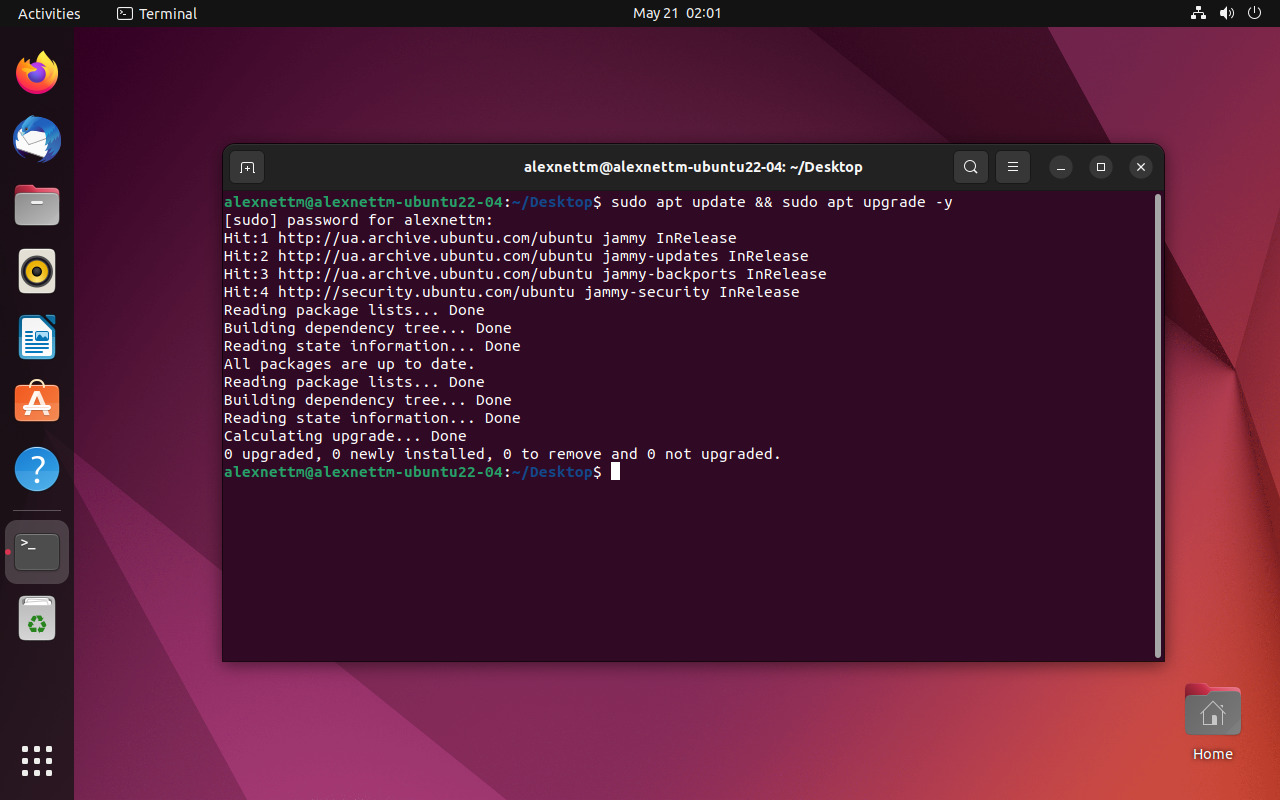
Press “CTRL+ALT+T” to open the terminal of your Ubuntu 22.04 and run the below-given commands to update system repositories:
$ sudo apt update && sudo apt upgrade -y
1.2 Install required packages
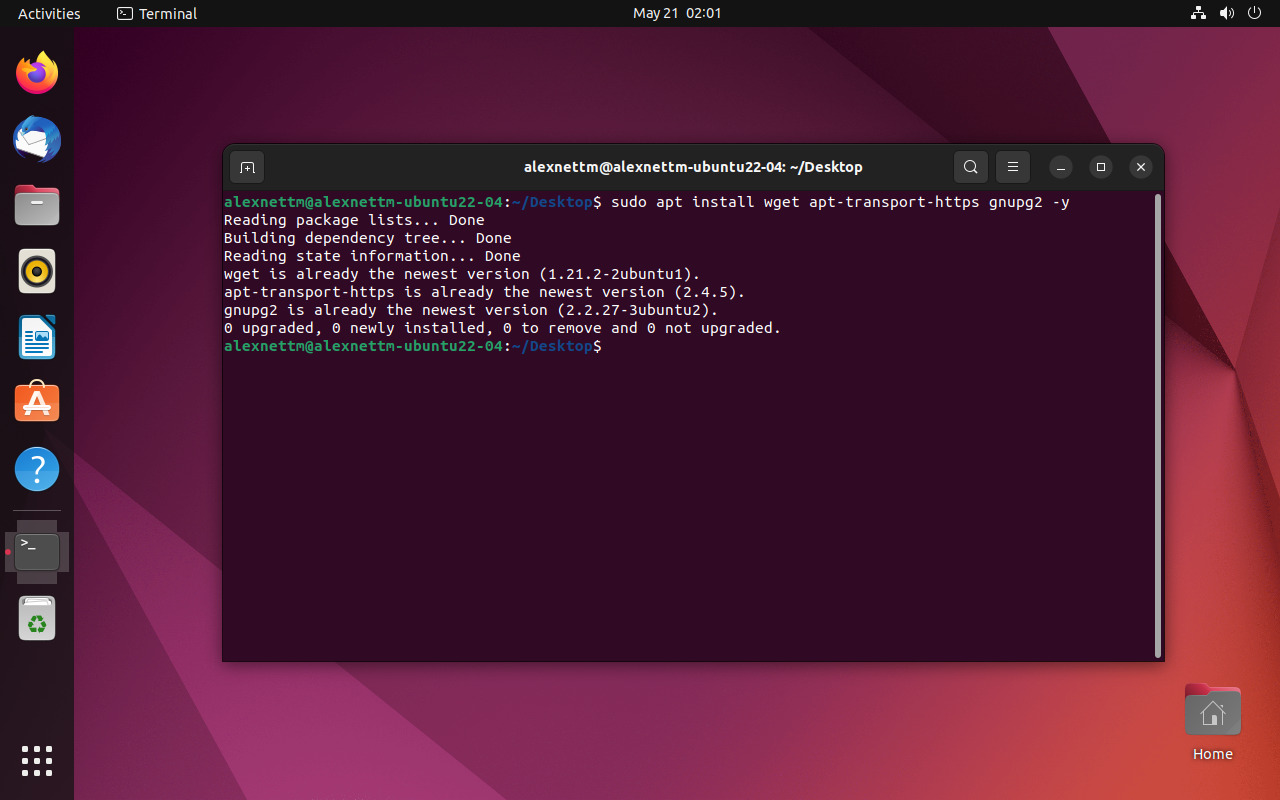
After updating the system repositories, execute the following command to install the required packages for TeamViewer:
$ sudo apt install wget apt-transport-https gnupg2 -y
1.3 Import TeamViewer GPG key
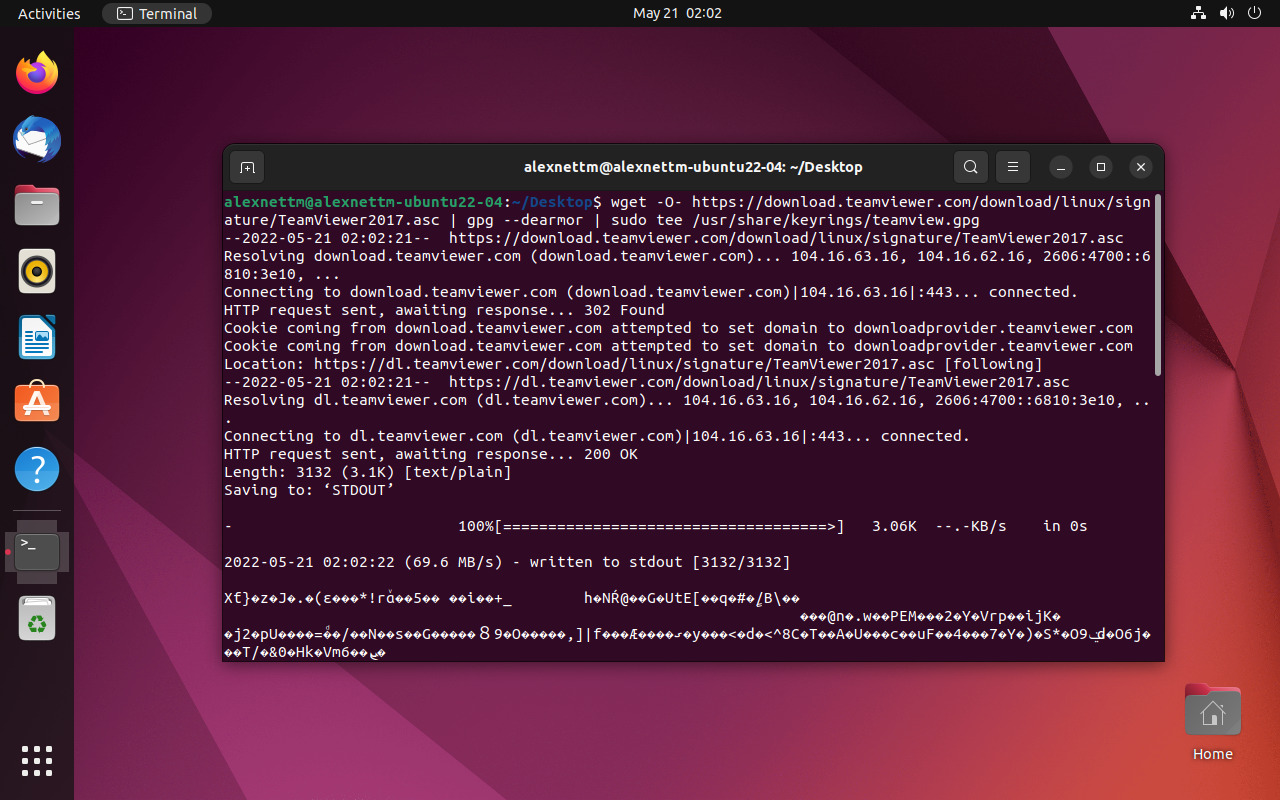
In the next step, import the GPG key of the TeamViewer by utilizing the below-given wget command:
$ wget -O- https://download.teamviewer.com/download/linux/signature/TeamViewer2017.asc | gpg --dearmor | sudo tee /usr/share/keyrings/teamview.gpg
Now, move to the next step.
1.4 Add TeamViewer repository
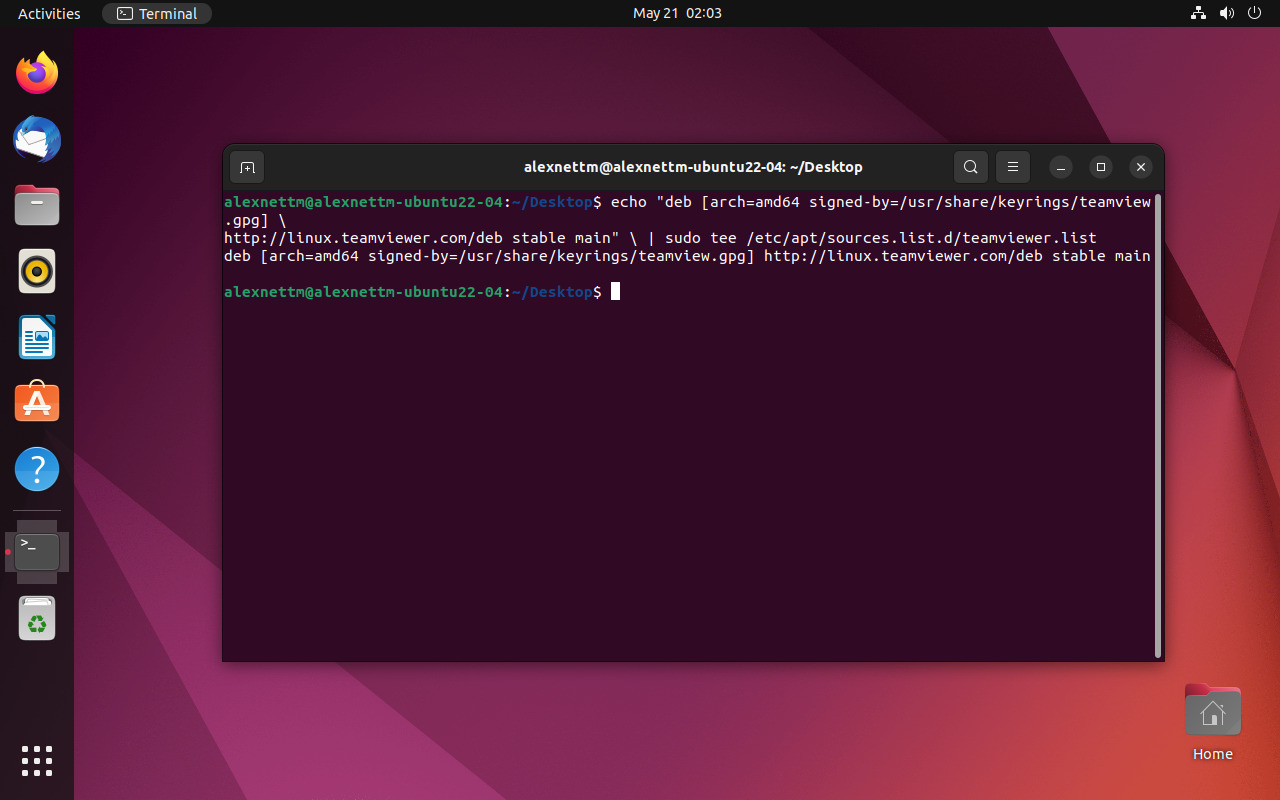
Then, add the TeamViewer repository to your Ubuntu 22.04 system:
echo "deb [arch=amd64 signed-by=/usr/share/keyrings/teamview.gpg] \
http://linux.teamviewer.com/deb stable main" \ | sudo tee /etc/apt/sources.list.d/teamviewer.list
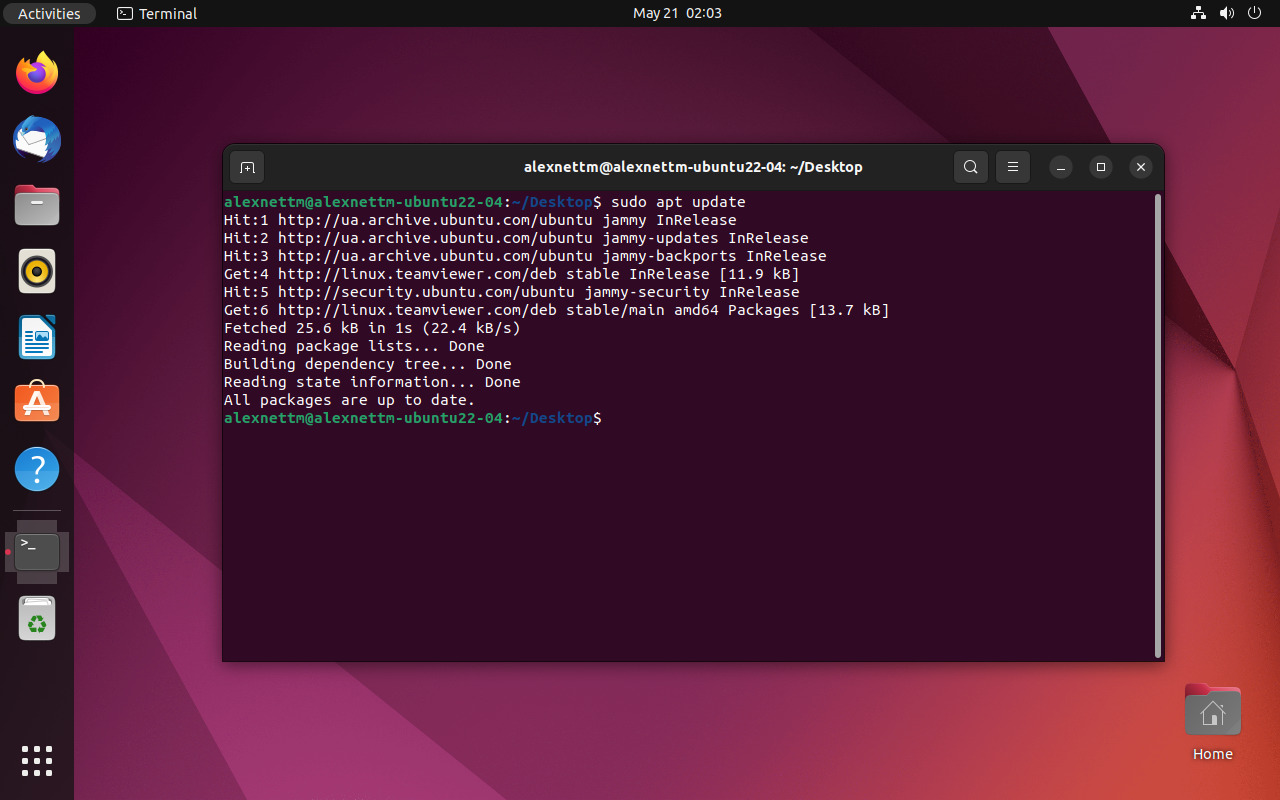
Now run an APT update to reflect the newly imported repository.
$ sudo apt update
1.5 TeamViewer installation on Ubuntu 22.04
Lastly, utilize the following command for TeamViewer installation:
$ sudo apt install teamviewer -y
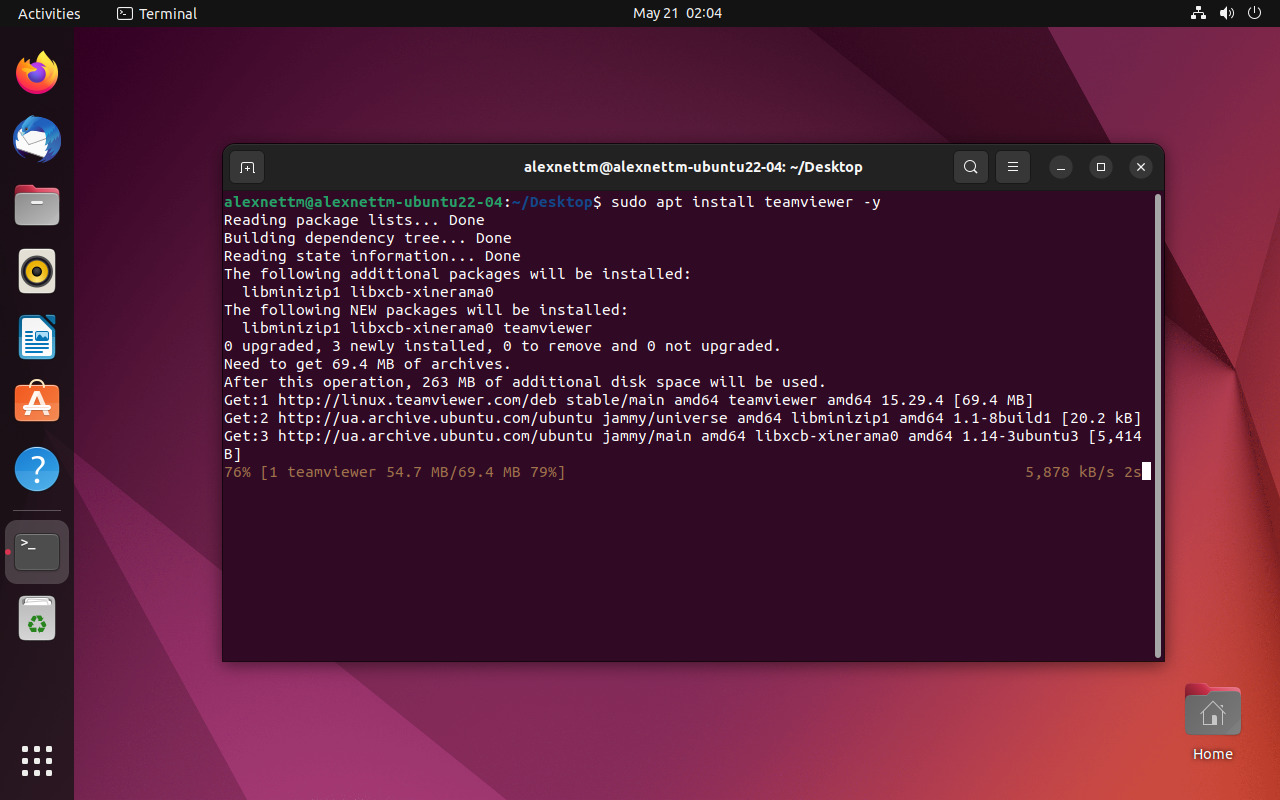
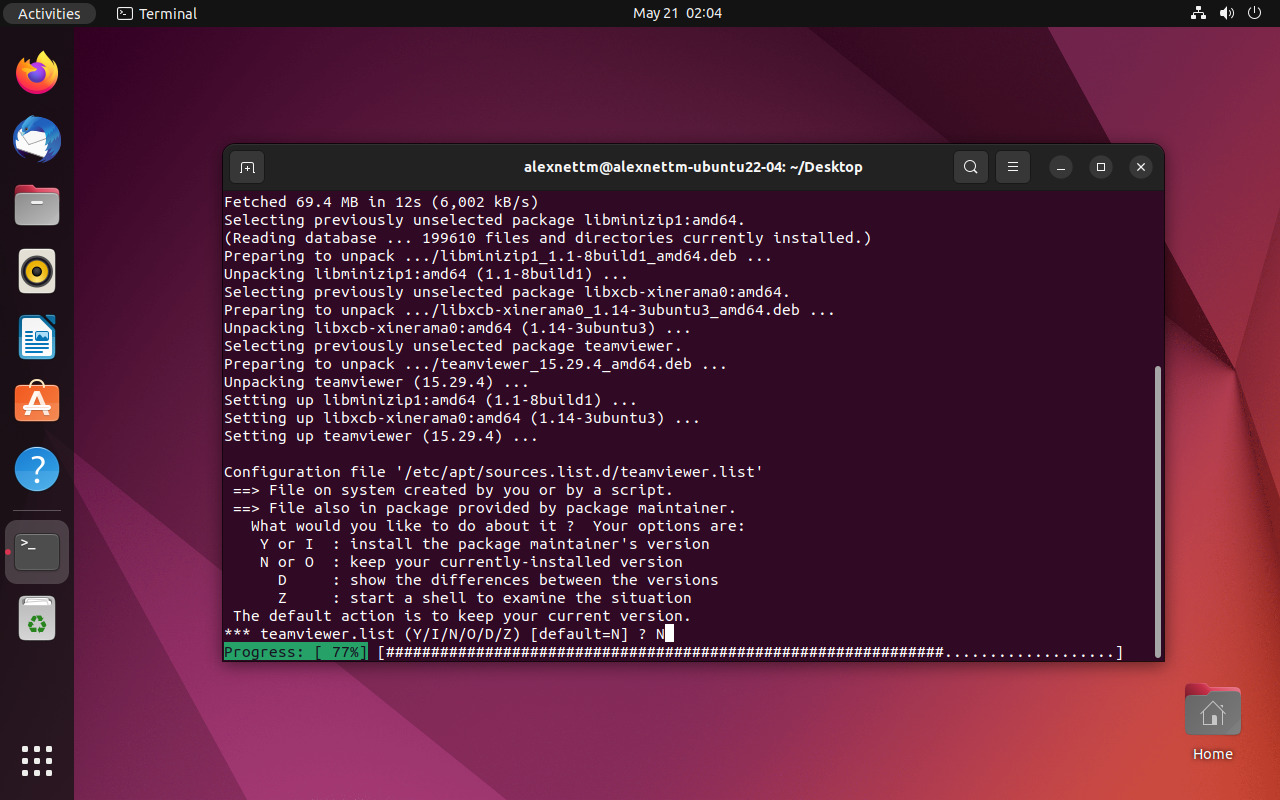
The above-given output signifies that TeamViewer is successfully installed on our Ubuntu 22.04 system. Now, let’s check out the method to use TeamViewer.
2. Use TeamViewer on Ubuntu 22.04
As a Linux user, you can also utilize TeamViewer to share files or access another system remotely. In this section, we will teach you the procedure to use TeamViewer for accessing a remote desktop.
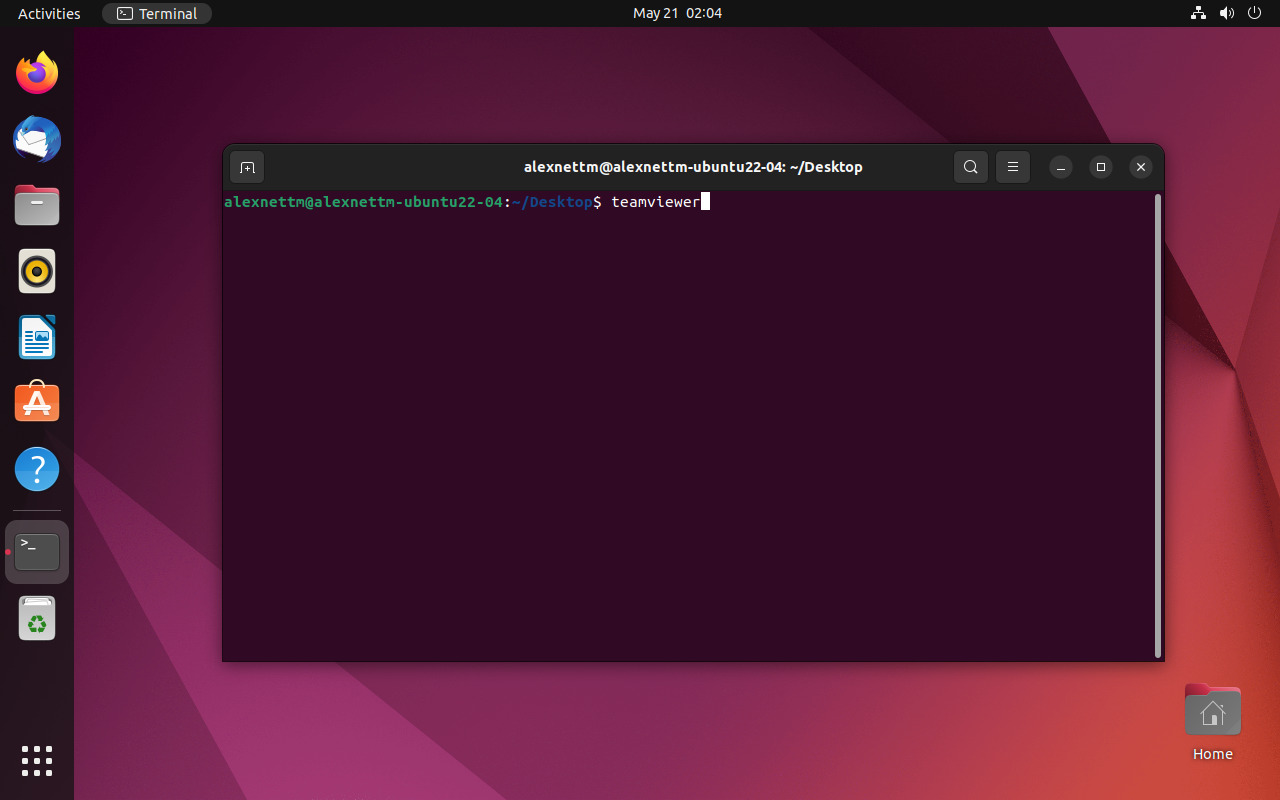
For this purpose, open up teamviewer by typing the following command in the terminal:
$ teamviewer &
You can also search in the Activities menu and open TeamViewer from there:

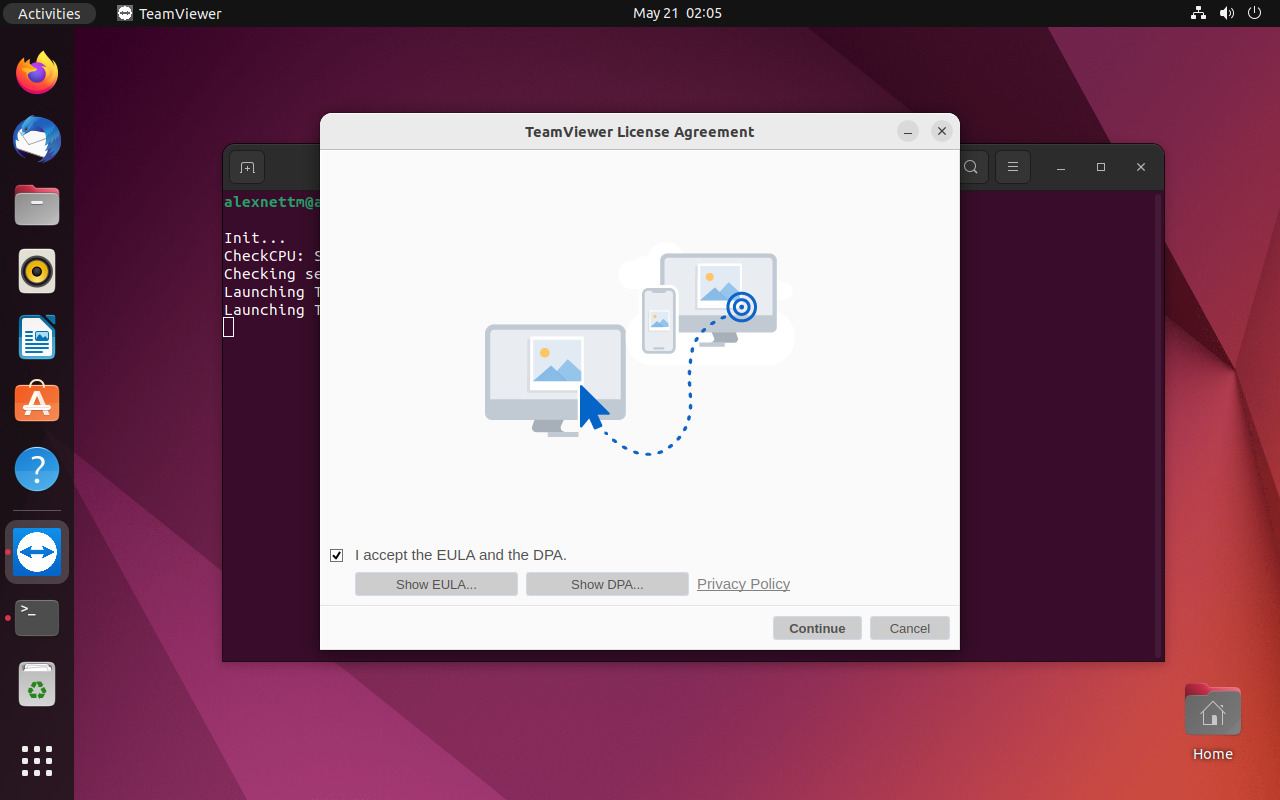
After doing so, you will be asked to read the TeamViewer License Agreement, mark the I accept from EULA and the DPA checkbox, and click on the Continue button:
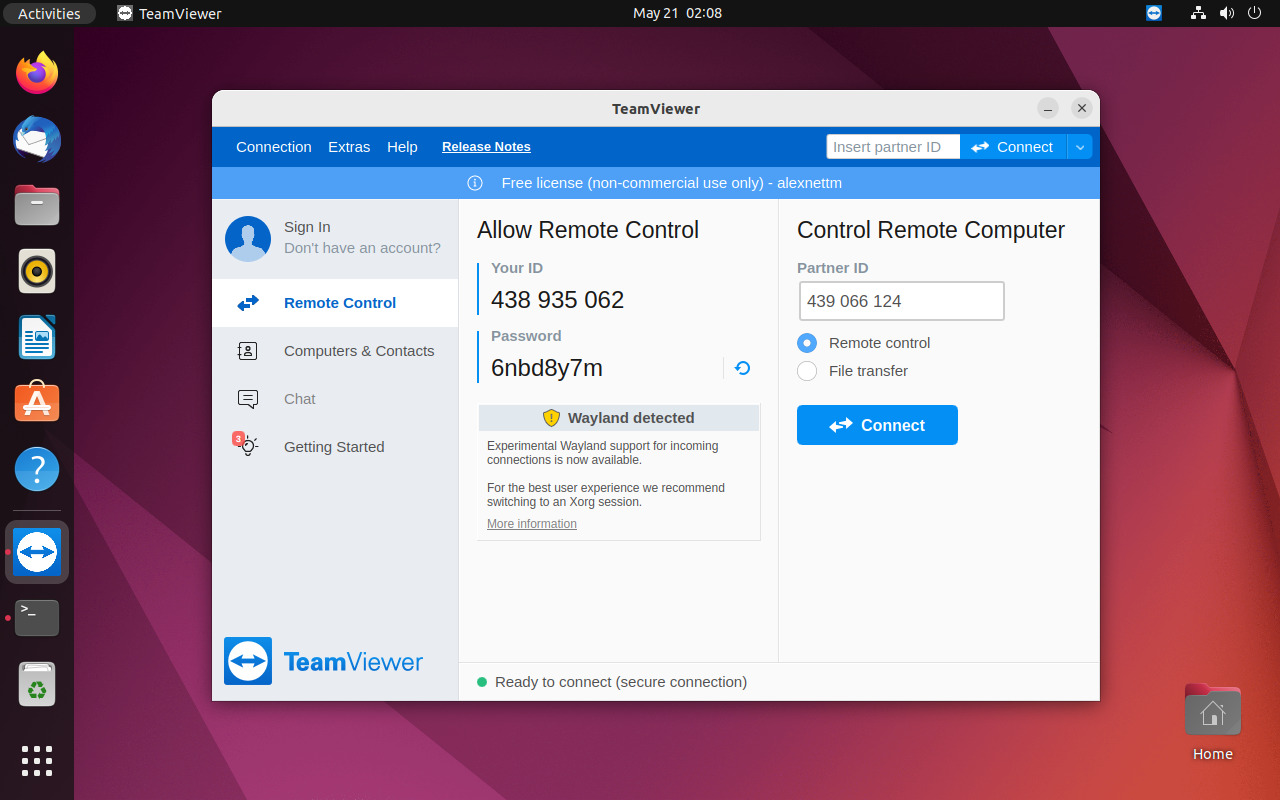
TeamViewer will provide an ID and Password for your system. These credentials can be then utilized for accessing another system. In the other case, you can type out your Partner ID to access another system remotely:
After clicking on the Connect button, TeamViewer will ask you to type out the Password of your Partner’s TeamViewer account:

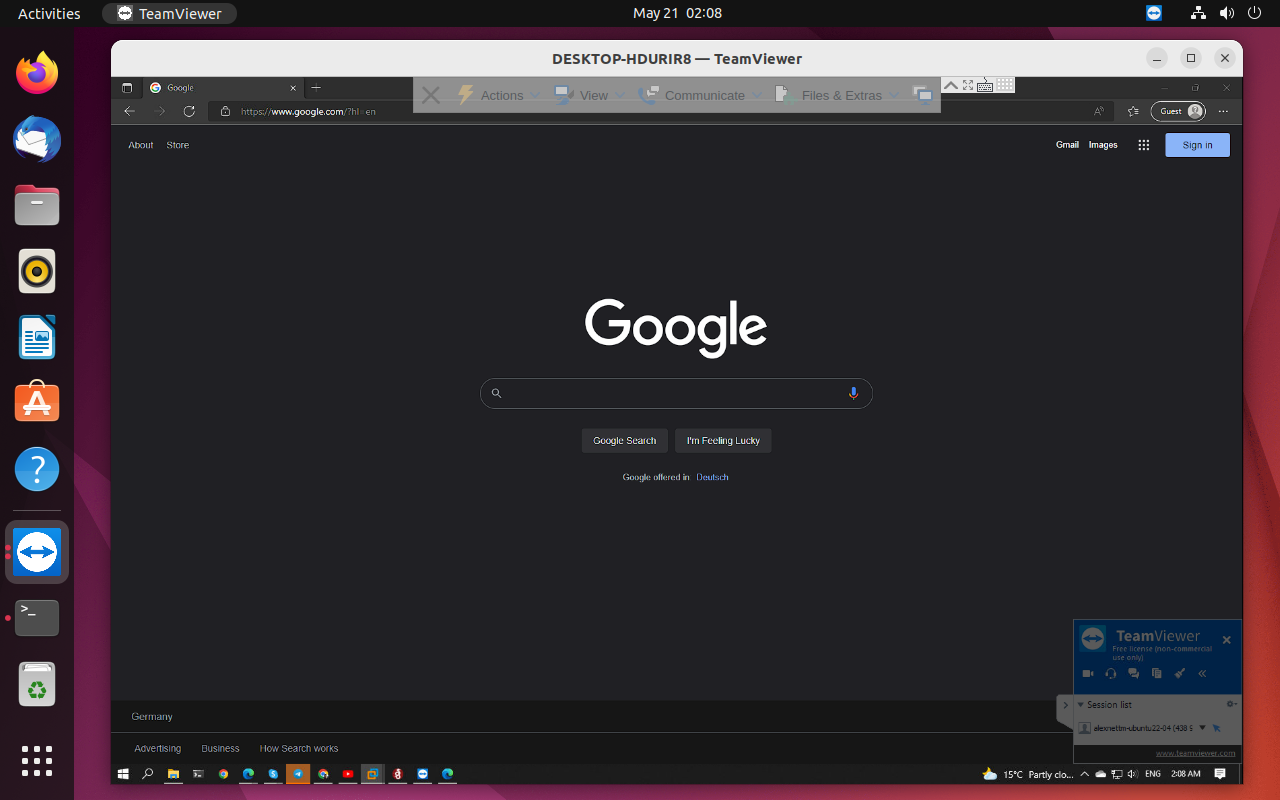
That’s it. Now you are all ready to access the other remote desktop:
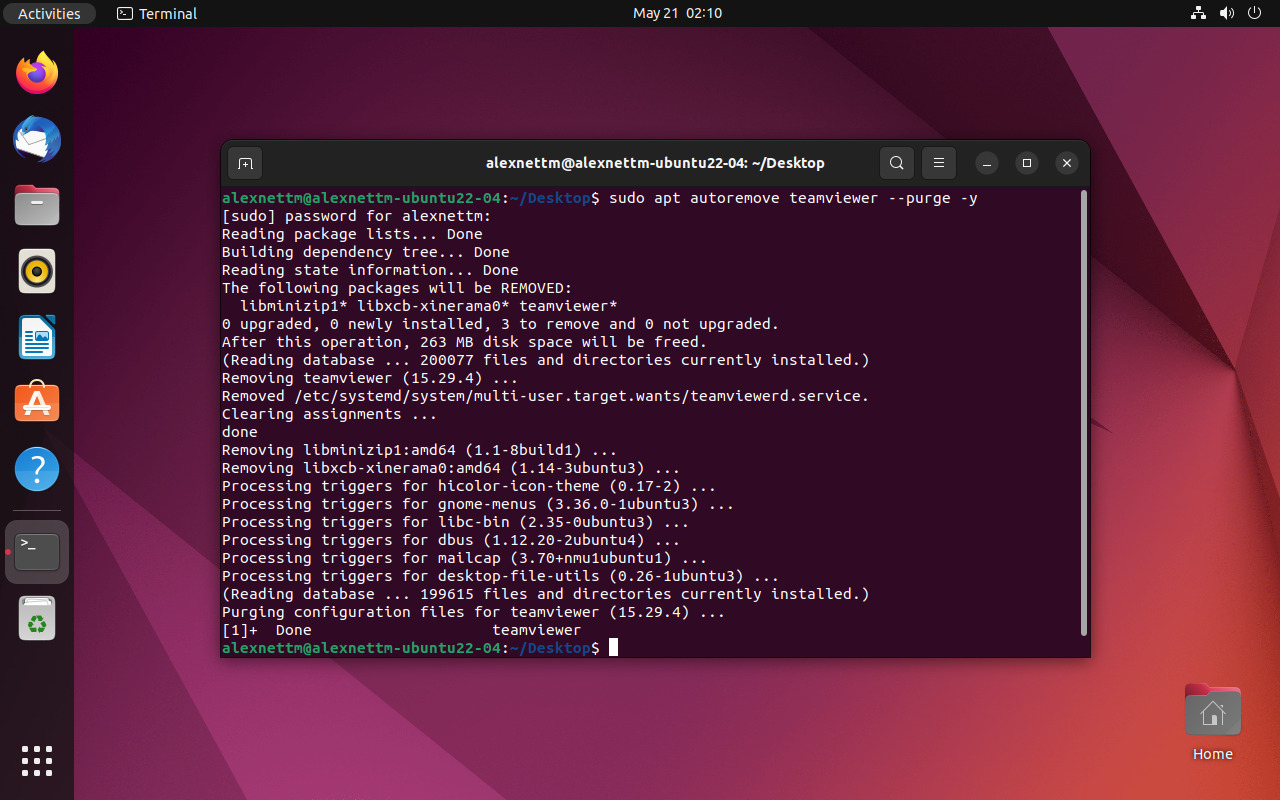
2.1 How to uninstall TeamViewer from Ubuntu 22.04
Want to uninstall TeamViewer from Ubuntu 22.04? If yes, then execute the following command:
$ sudo apt autoremove teamviewer --purge -y
We have compiled the basic method related to the installation and usage of TeamViewer on Ubuntu 22.04.
3. How to Update/Upgrade TeamViewer
The software should update by itself with your system packages for desktop users using the APT package manager. For users that would like to check manually, use the following command in your terminal.
sudo apt update && sudo apt upgrade