In this guide you’ll see how to install Windows 11. Installing Windows 11 is quite different than the previous versions of Windows. For the earlier versions, you typically needed to plan for the installation then go get the installation media, insert it into your computer, boot from it and then begin the installation process.
Is my PC compatible with Windows 11?
Microsoft’s stringent requirements for Windows 11 have received plenty of scrutiny. The best way to check if your PC meets the criteria is to run the official PC Health Check App. PCs failing to meet the minimum requirements can unofficially be upgraded. To avoid any complications, such workarounds are not recommended and will not be covered by this guide.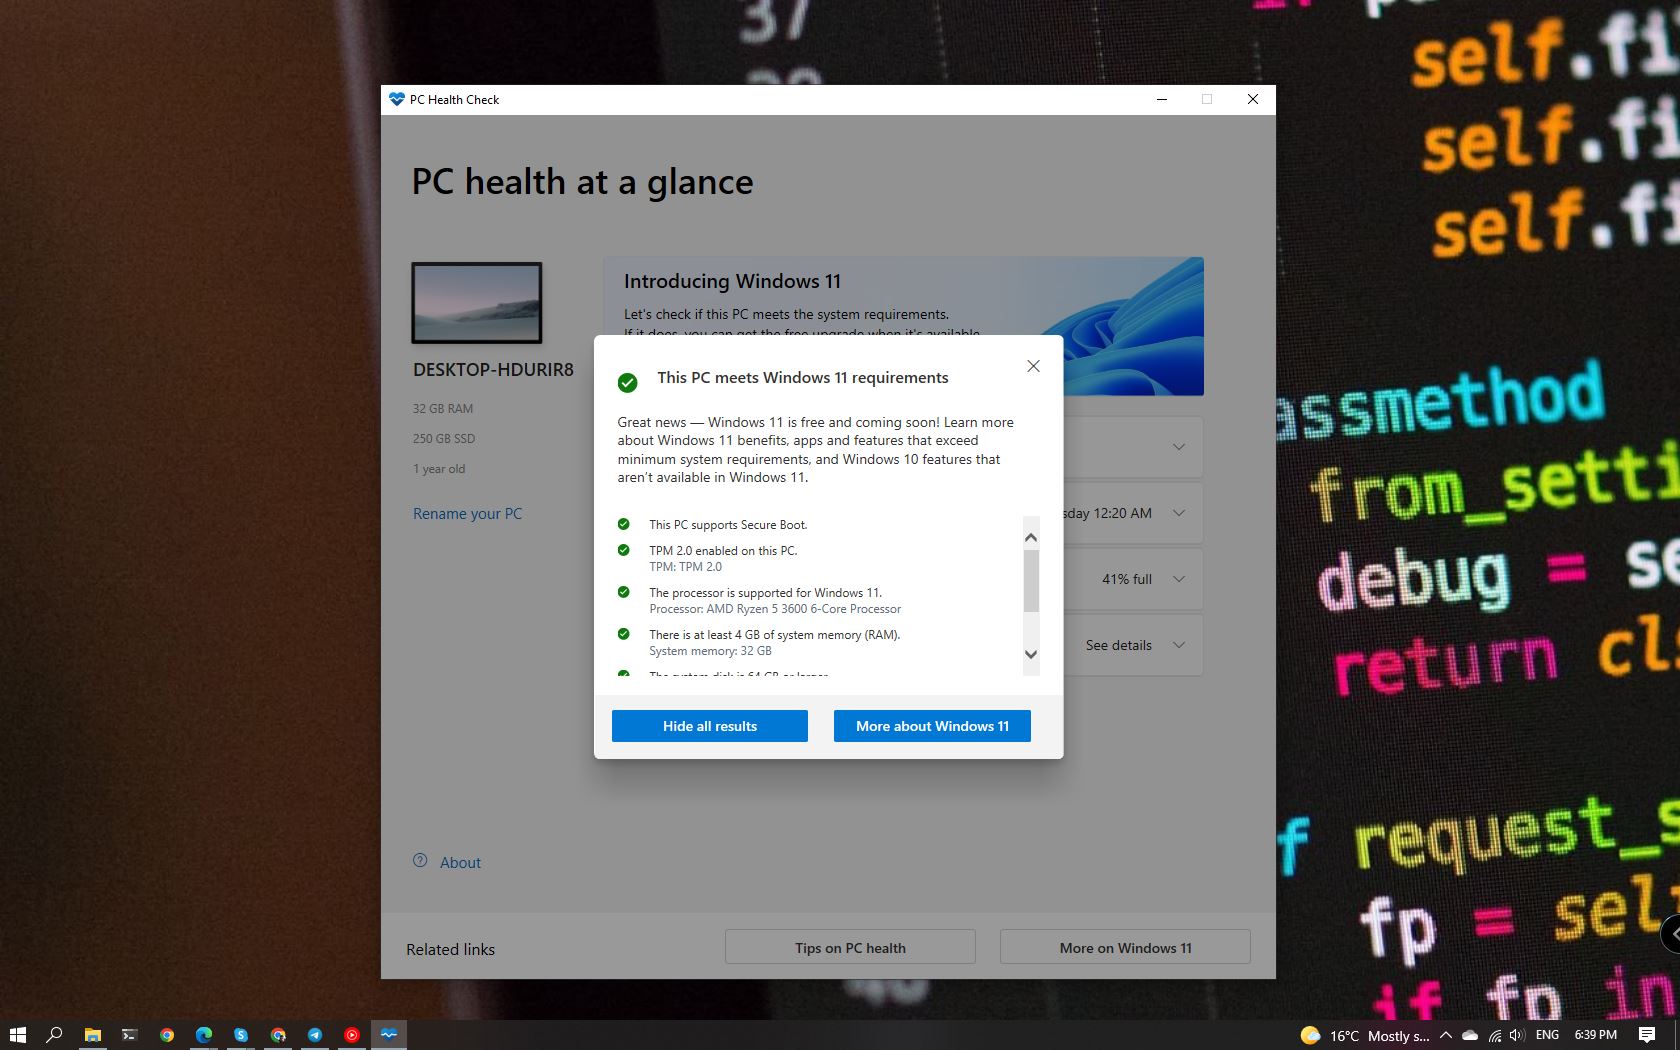
Windows 11 system requirements
Here are the main hardware requirements that you should be aware of when you are considering installing Windows 11:
- CPUs (Central Processing Units) – 1 Ghz or faster with 2 or more cores and appearing on Microsoft’s list of approved CPUs. The processor in your PC will be a main determining factor for whether your PC can run Windows 11. Unfortunately, a surprising number of CPU – even fairly new ones – are not included in this list of supported CPUs so you really need to check your CPU against the list of supported CPUs.
- RAM – A minimum of 4 GB or higher.
- Storage – A minimum of 64 GB or higher.
- System Firmware – UEFI ( Unified Extensible Firmware Interface) and Secure Boot capable.
- TPM: Trusted Platform Module (TPM) version 2.0.
- Graphics support – Compatible with DirectX 12 or later with a WDDM 2.0 driver.
- Display – A high definition (720p) display that is greater than 9” diagonally.
While I find it hard to believe anyone might still care about this, there isn’t a 32-bit version of Windows 11. Beginning with Windows 10, version 2004, Microsoft has stated that all new Windows 10 systems will use 64-bit builds and that Microsoft will no longer release 32-bit builds for OEM distribution. This does not impact earlier 32-bit versions of Windows 10 but don’t expect to see any 32-bit support for Windows 11 going forward.
What tools do I need?
Just a USB stick with at least 8GB of space, and of course a PC on which to carry out the installation.
Installing Windows 11 with USB installation stick
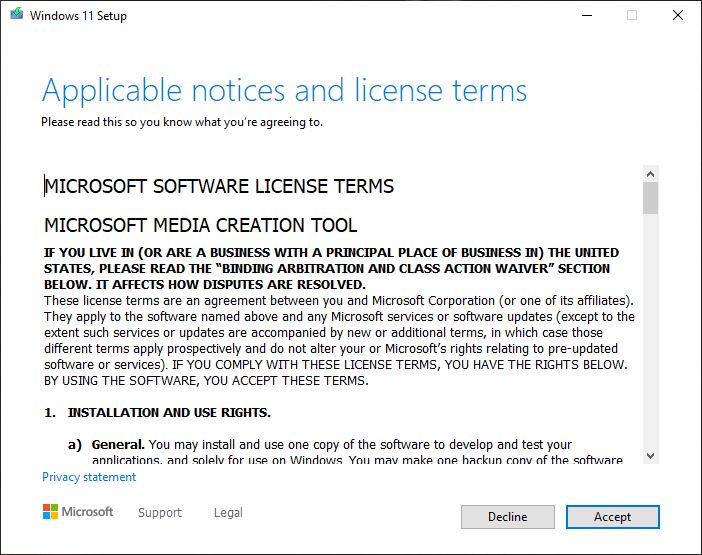
Head to the official Windows 11 Download Page and download the free Media Creation Tool (direct link). Once downloaded, run the file MediaCreationToolW11.exe and follow the on-screen wizard as follows:
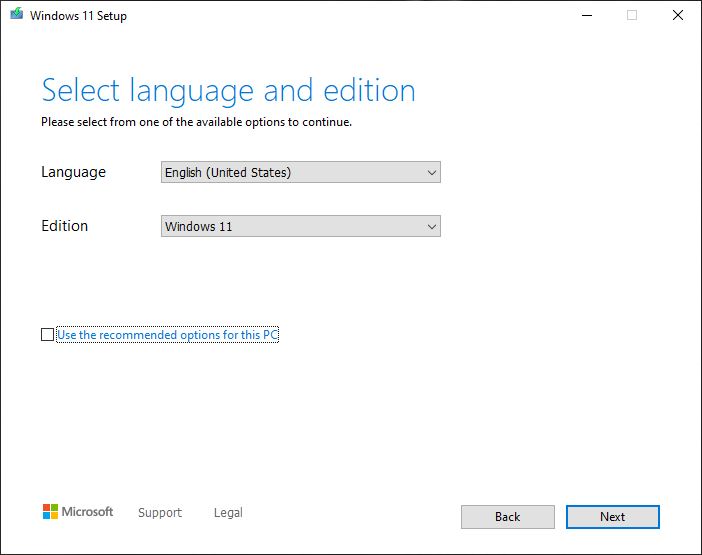
Accept the license terms, then choose the applicable language and Windows edition.
Select ‘USB flash drive’ as your media of choice, and then select your preferred USB drive from the list. Take a moment to double-check the selection; ALL content on said drive will be deleted.
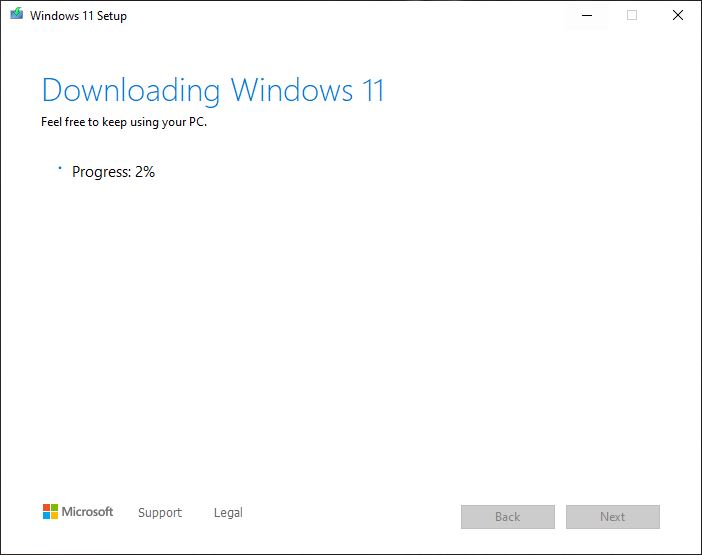
Microsoft’s Media Creation Tool will then proceed to download Windows 11 to the USB drive in preparation for step two. This process can take a while.
Boot PC from the USB installation stick
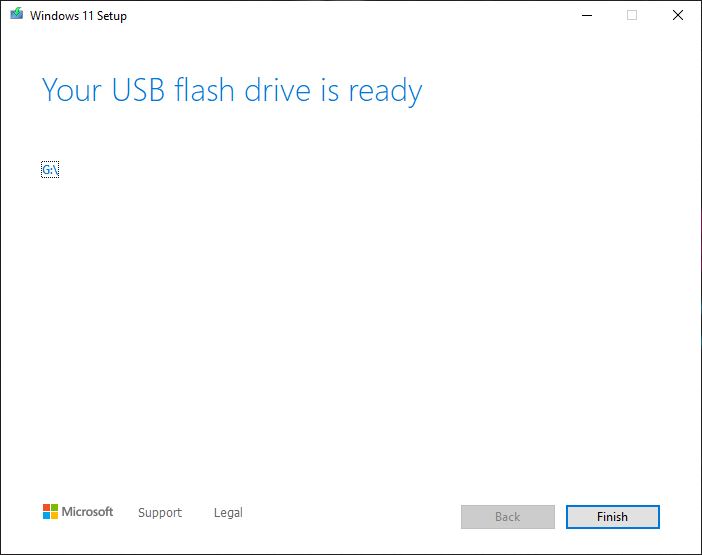
USB flash drive ready? Great, now let’s go ahead and boot from the drive. Turn on the PC on which you want to clean install Windows 11 and enter the boot device selection menu. This can be achieved by pressing the relevant key during the boot sequence – F10/F12/Esc – or alternatively enter system BIOS and manually select the boot device.
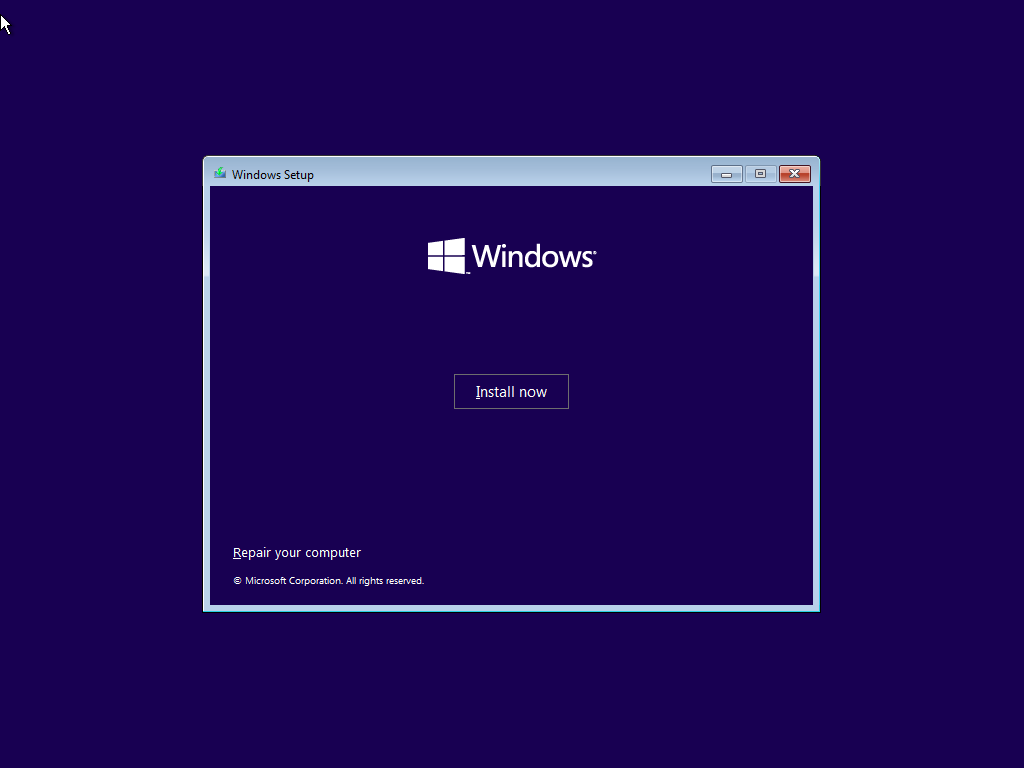
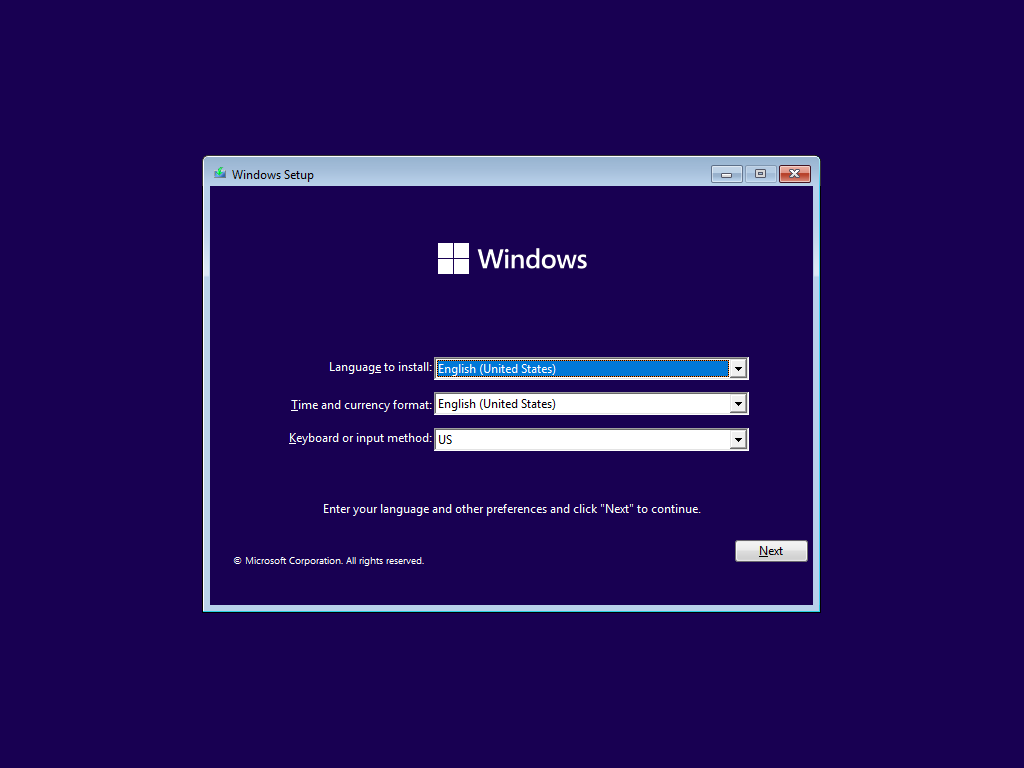
Upon boot, the installation wizard will now begin with a set of regional preferences. Choose the correct language and input method, and then Install now.
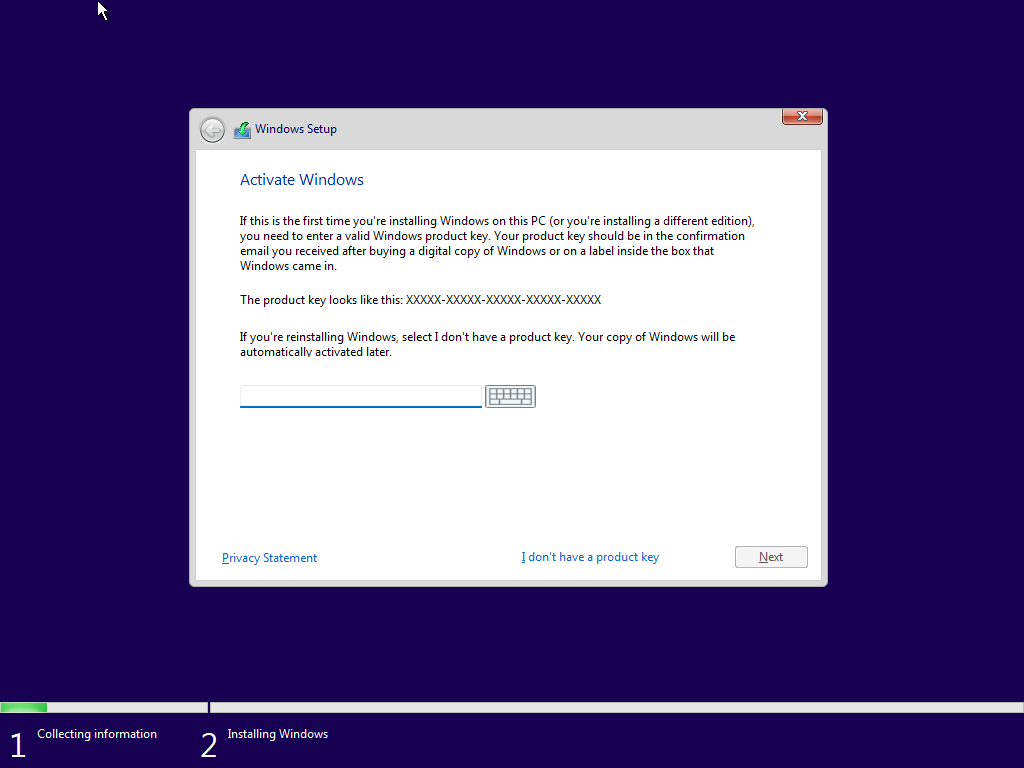
Do not be alarmed by the Activate Windows prompt. As stated earlier, a PC running a licensed version of Windows 10 is eligible for a free upgrade to Windows 11. Select ‘I don’t have a product key’ and the software will automatically activate upon connection to the web.
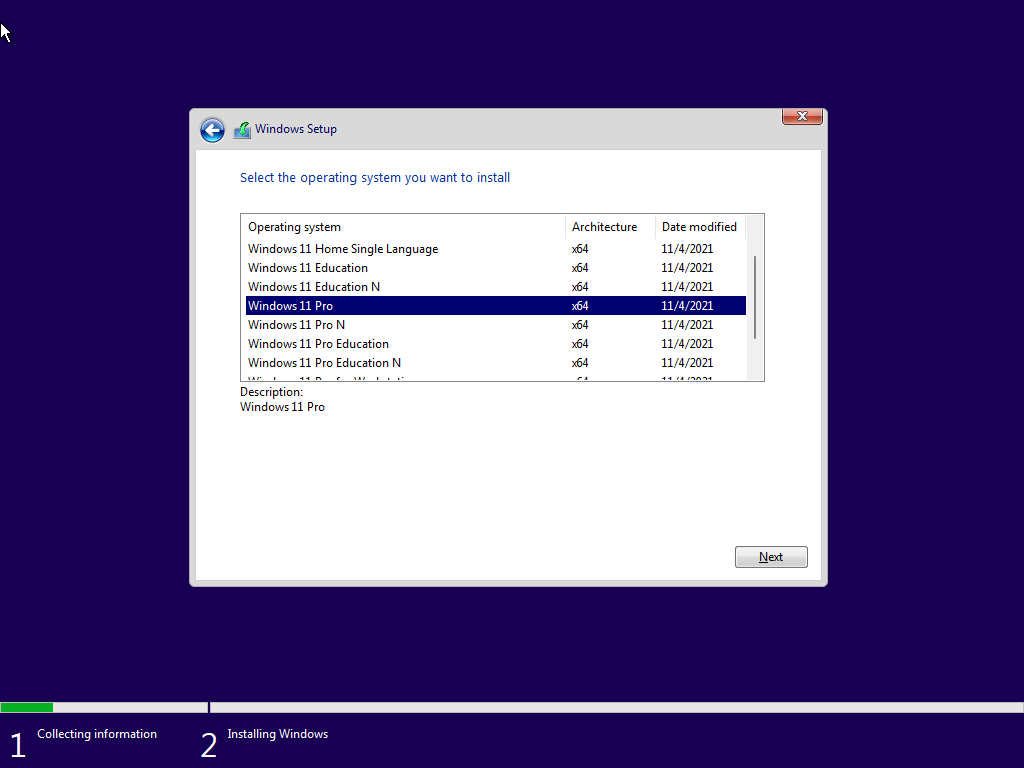
On the next step remember to choose the relevant version of the operating system you want to install.
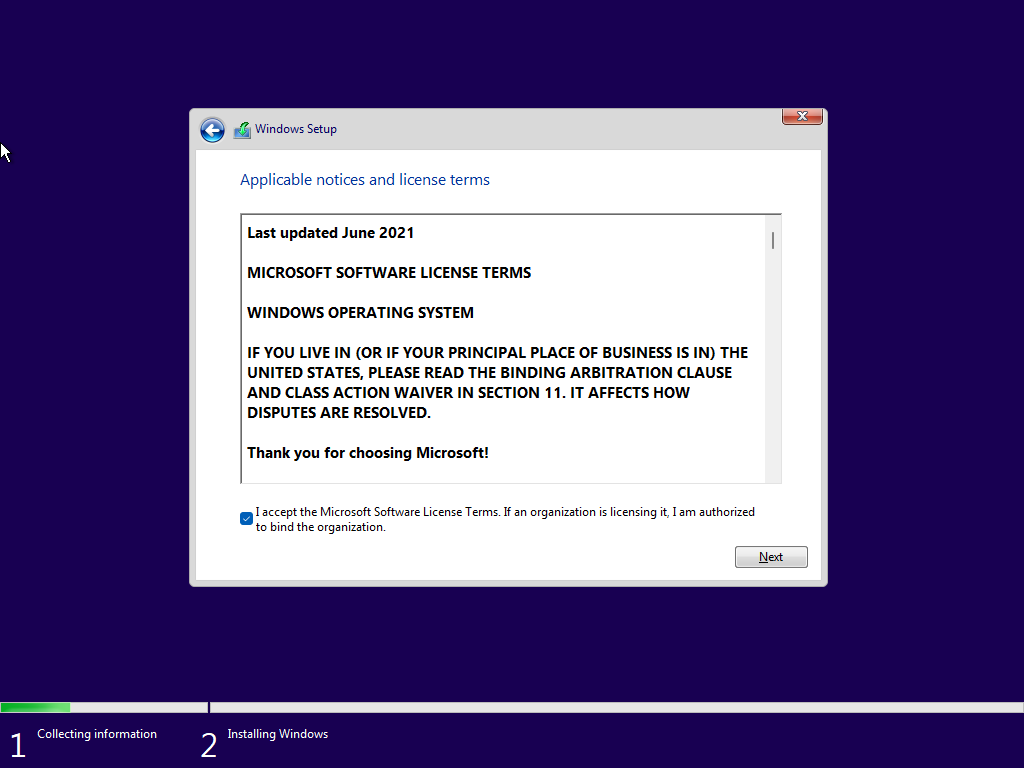
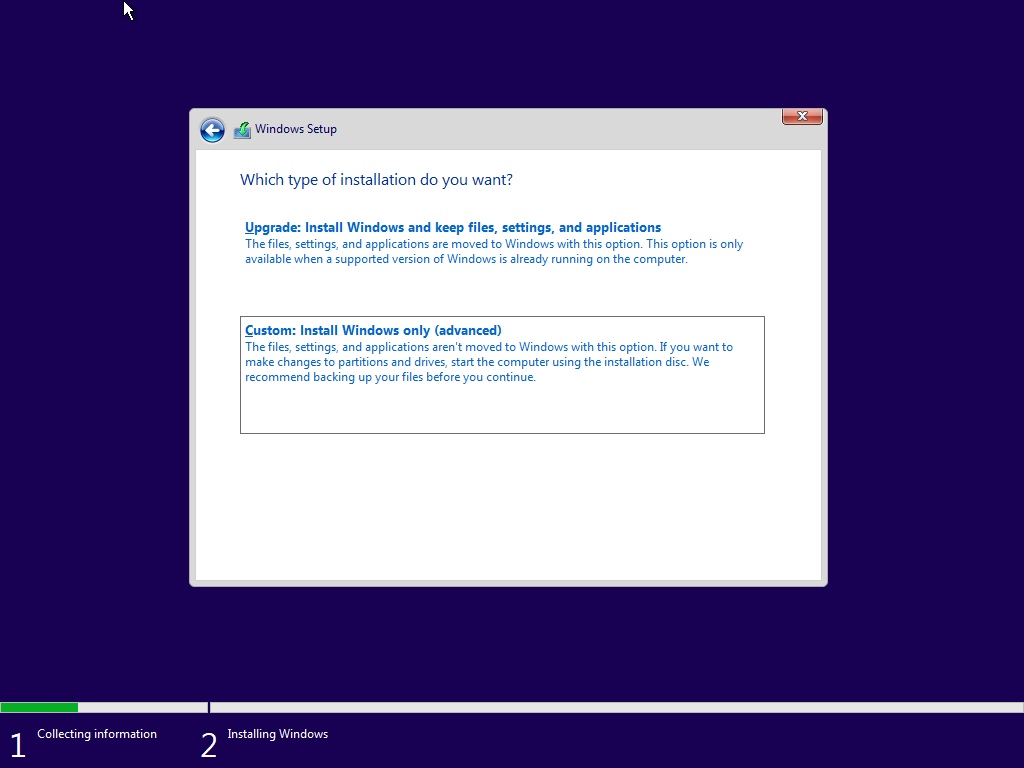
Accept the Microsoft Software License Terms and when asked which type of installation you want, select ‘Custom: Install Windows only (advanced)’ to allow for a clean install.
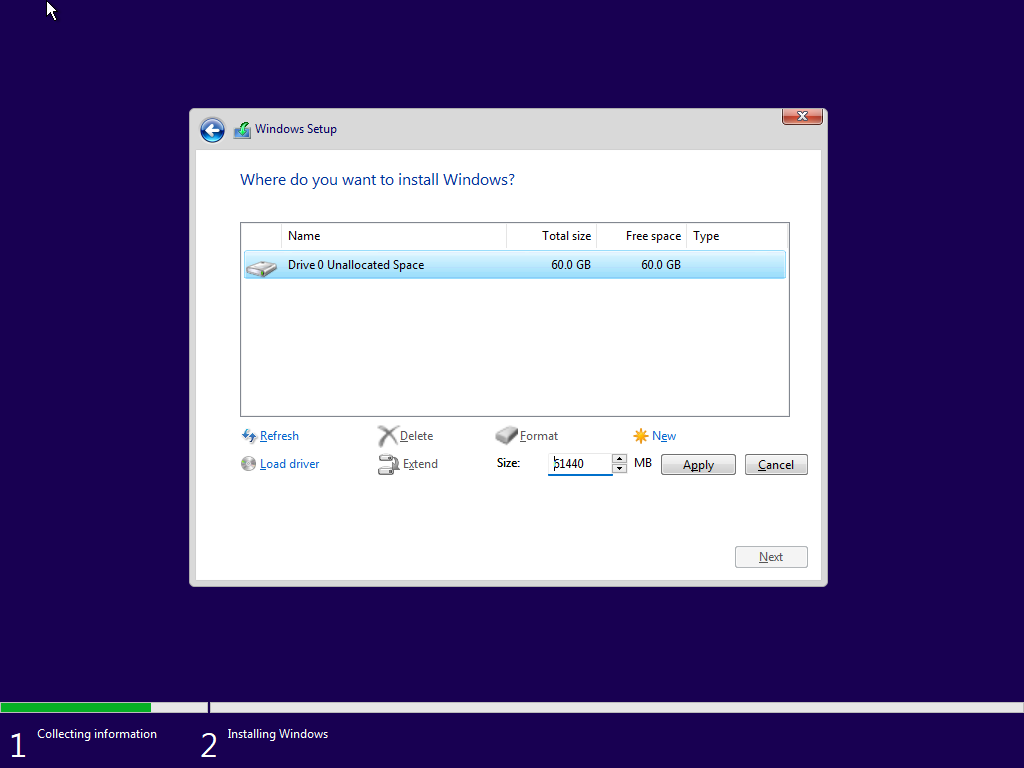
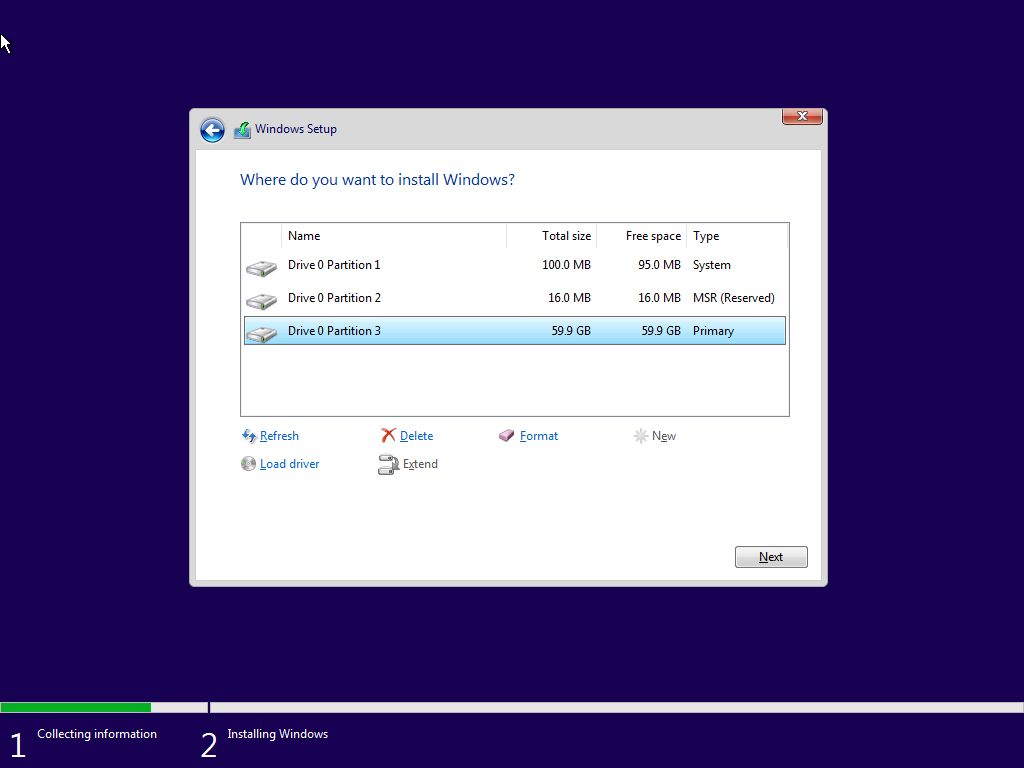
Lastly, choose the drive on which you to want to clean install Windows 11. Users seeking a full format can choose to delete any existing partitions but remember to make sure you’ve backed up any important data as there’s no going back.
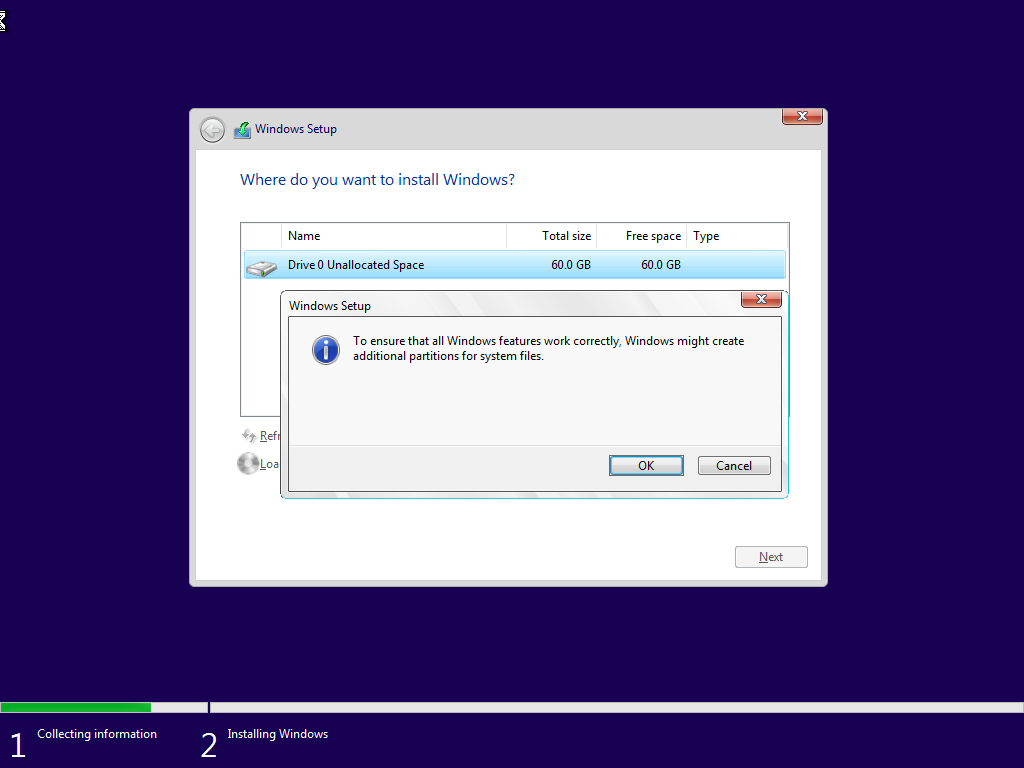
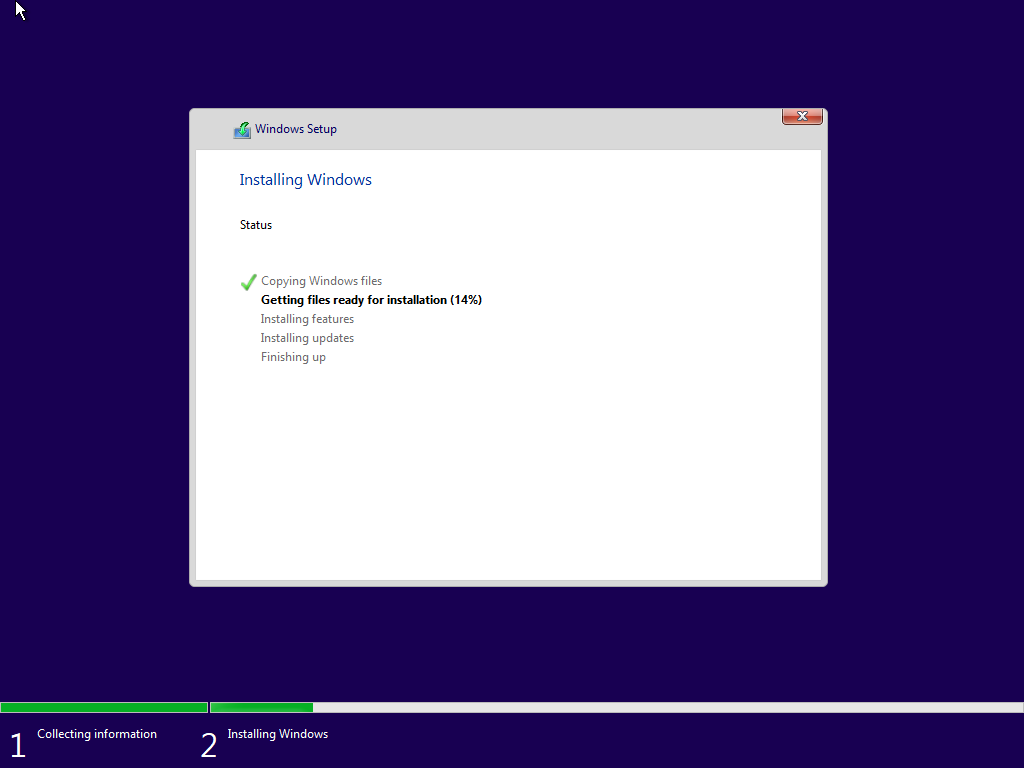
Once you are ready to proceed, click Next and the installation wizard will automatically create the required partitions, install Windows 11 and restart your PC.
Configure Windows 11
Upon restart you will be facing a snazzy-looking Windows 11 configuration wizard. This final phase of your journey should be self-explanatory, though do note that Windows 11 will by default ask you to sign in with a Microsoft Account. To enable a local account simply disconnect from the Internet during the setup process.
Windows 11: Selecting the region
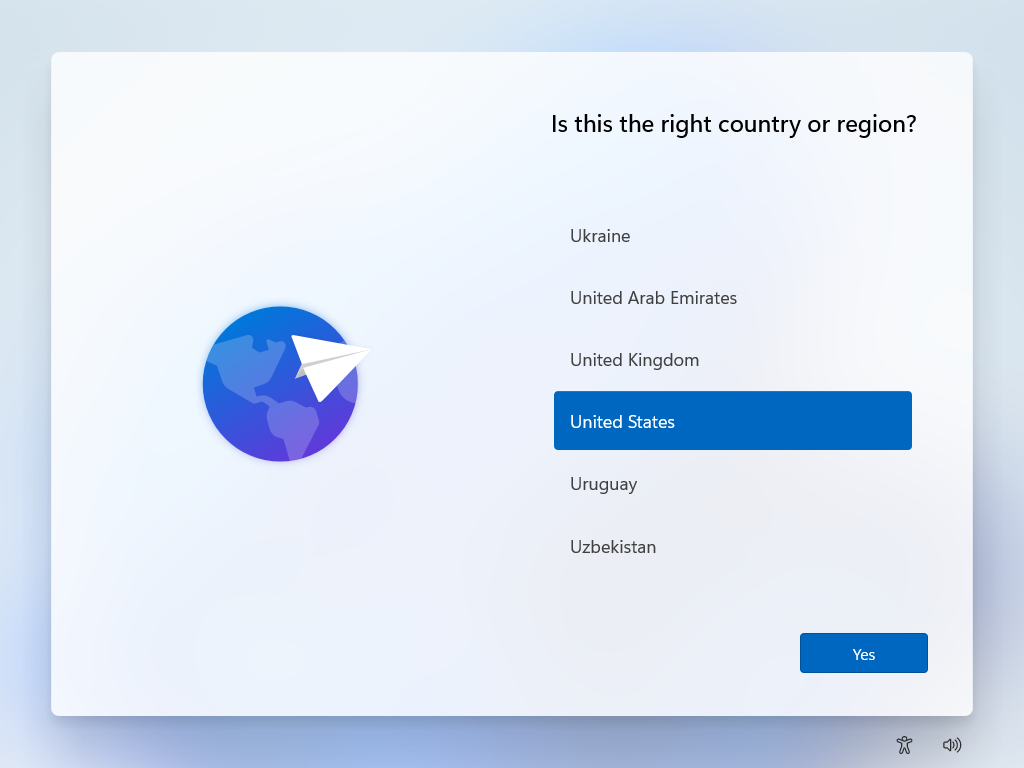 Screen is the first display shown on Windows 11 initial boot up. This screen allows you to select your geographical region. I selected United States. Clicking Yes displays the next Windows 11 setup screen that you can see.
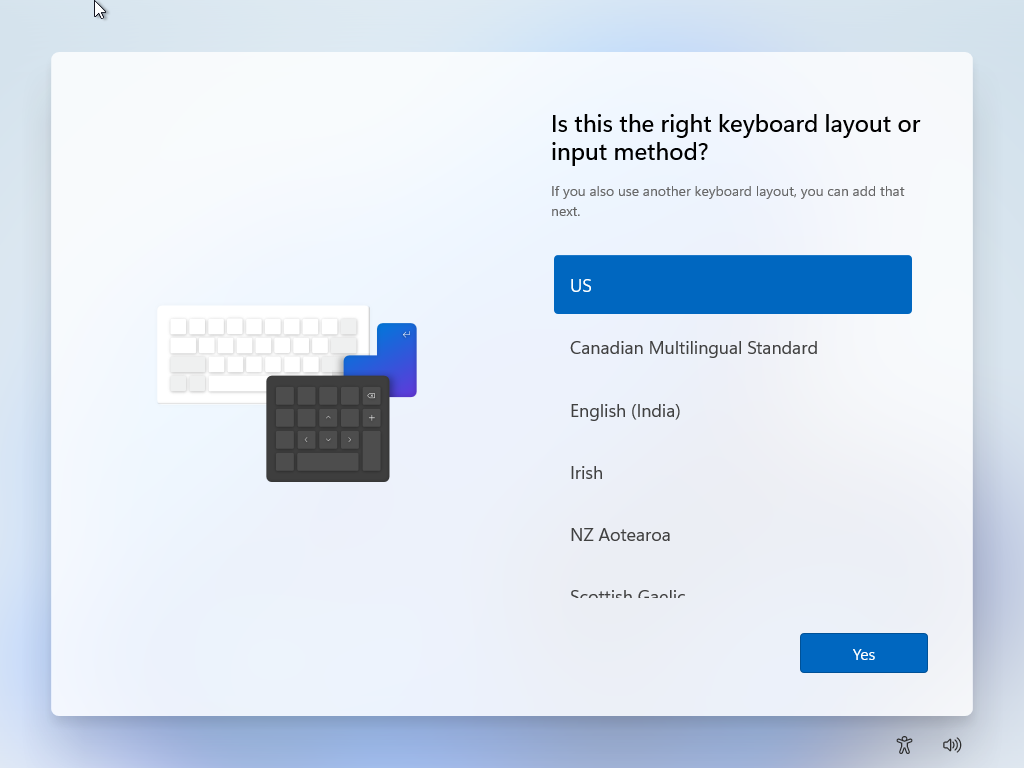
Windows 11 setup: Selecting the keyboard layout
On this screen you cat select your keyboard layout. US is at the top of the list. If you want a different keyboard layout, scroll through the list until you see the layout you want. Select the appropriate keyboard layout and then click Yes.
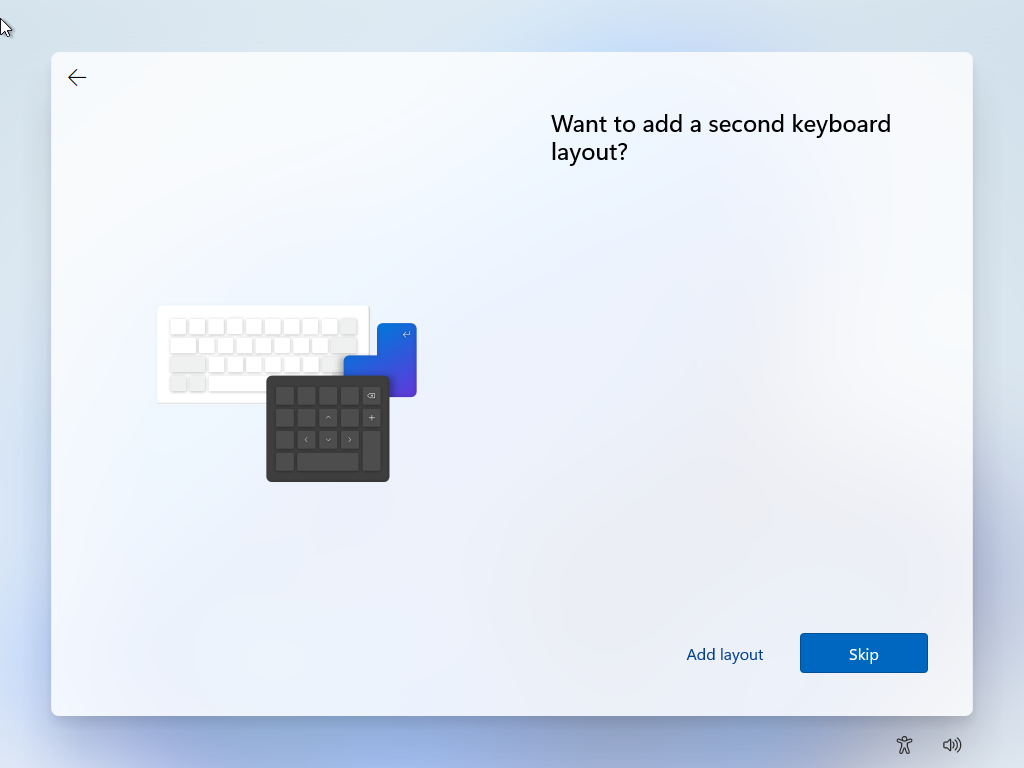
Windows 11 setup: Selecting a second keyboard layout
The next screen asks if you want to add a second keyboard layout. If you do want a second keyboard layout, click the Add layout link that you can see at the bottom of the screen. In most cases you won’t need a second keyboard layout so you can click the Skip button to proceed with the initial Windows 11 setup.
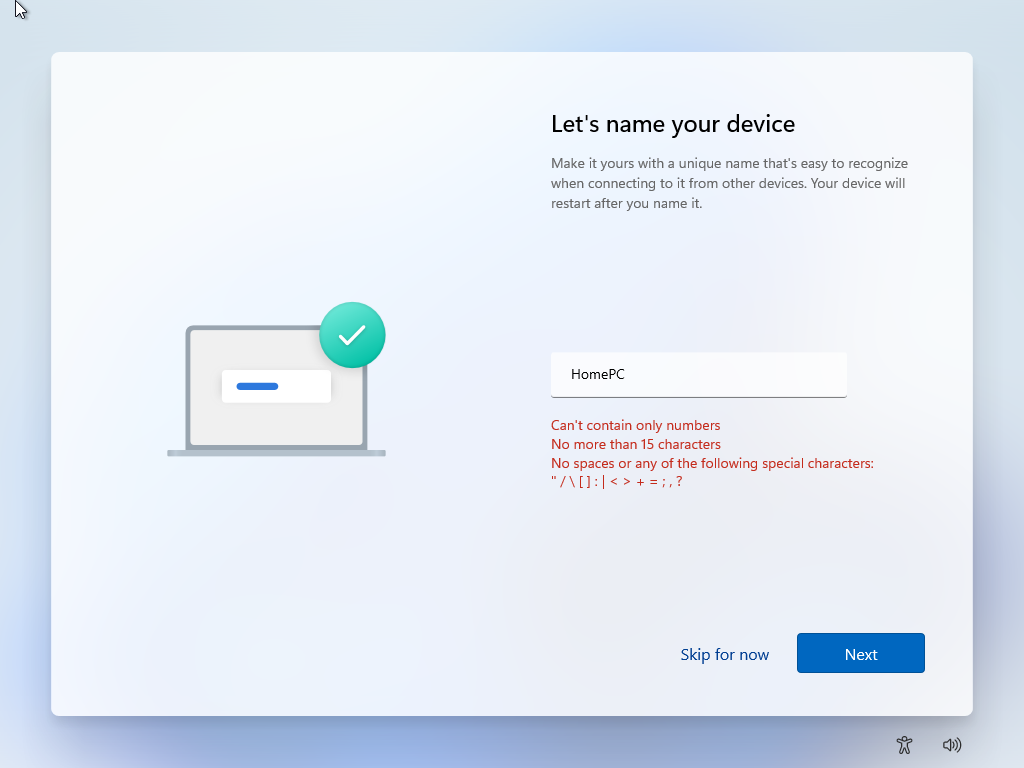
Windows 11 setup: Naming the PC
The “Let’s name your device” screen allows you to optionally create a custom system name for your new Windows 11 system. If you want to create a custom name, enter the name you want in the input box in the middle of the screen following the naming rules that are posted on the screen and then click Next. However, this step is optional. If you don’t care about creating a custom name, you can click the Skip for now link at the bottom of the screen and Windows will automatically generate a name for the system.
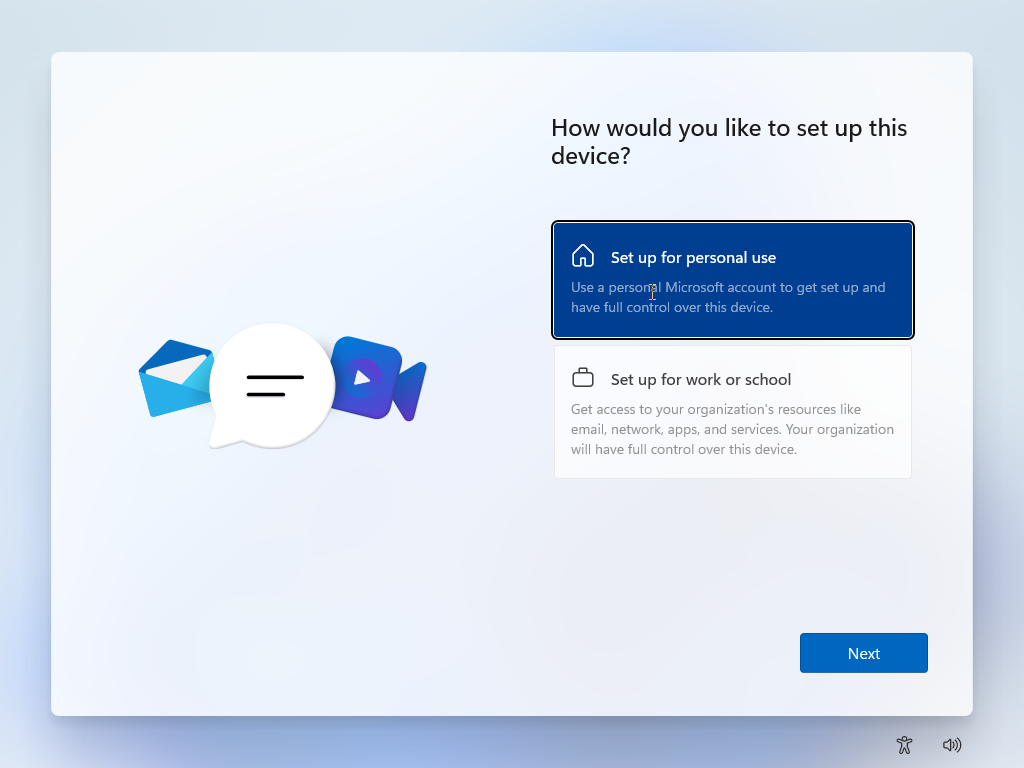
Windows 11 setup: Setup for personal or work use
The How would you like to setup this device screen enables you to choose what type of experience you will have with Windows 11. Essentially, the “Set up for personal use” option gives you control over the installation while the “Set up for work or school” option creates an instance that is centrally authenticated and controlled by Active Directory (AD) and Group Policy. After you select the type of experience that you want, clicking Next.
Windows 11 setup: Signing in to Microsoft account
Next, you need to sign in using either your Microsoft account or your AD login. In this case, I previously selected the personal use option so setup prompted me for a Microsoft account. The Microsoft account can enable you to share settings between different devices. If you don’t have a Microsoft account, you can create one by clicking the Create one! link. First, provide the user ID for your Microsoft account and then click Next to display the Let’s add your Microsoft account screen that you can see.
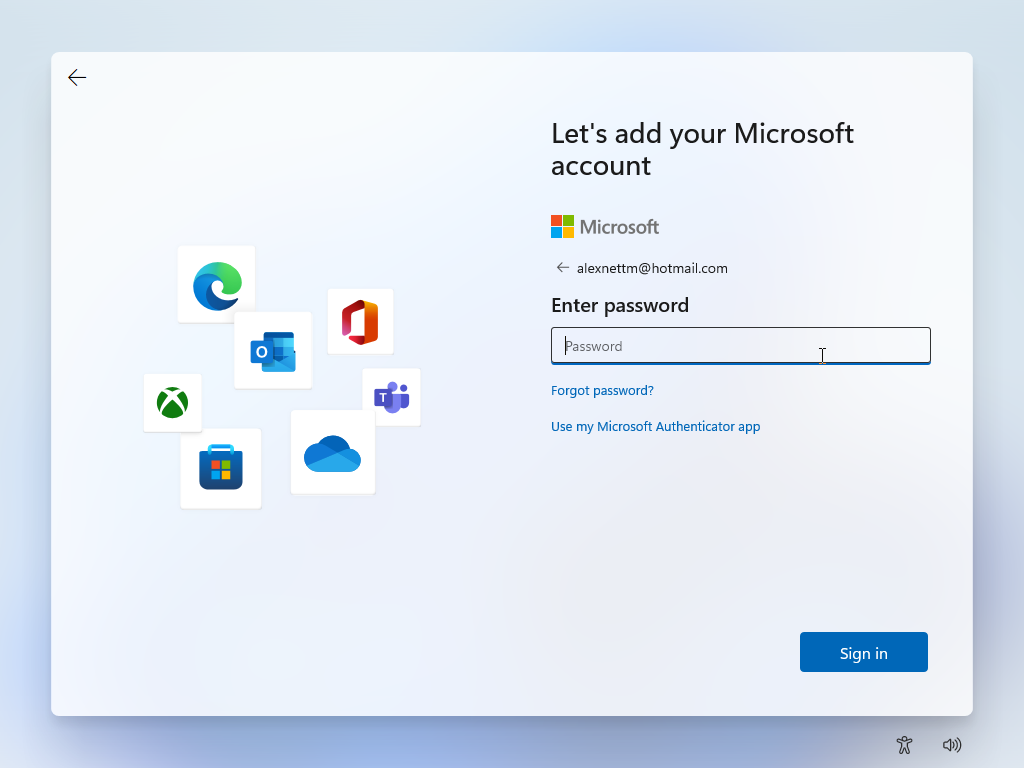
Windows 11 setup: Entering the password for your Microsoft account
This screen enables you to enter the password for your Microsoft account and then click Sign in. After you’ve signed on to your Microsoft account, you’ll be prompted to create a PIN.
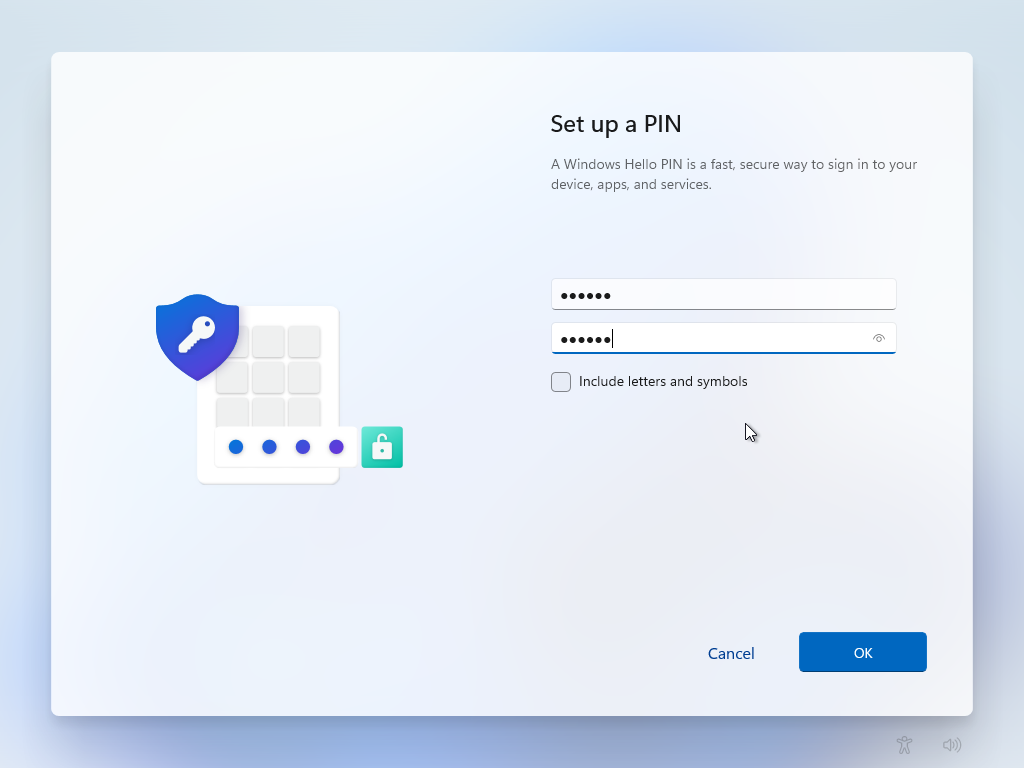
Windows 11 setup: Setup a PIN
The screen you can see, enables you to create a PIN for your Windows 11 login. Using a PIN can provide a faster and easier login experience. While you can include letters and symbols it’s typically best to make a six-digit PIN using just numbers. Enter the PIN you want to use and then validate the PIN by entering it again and then click OK.
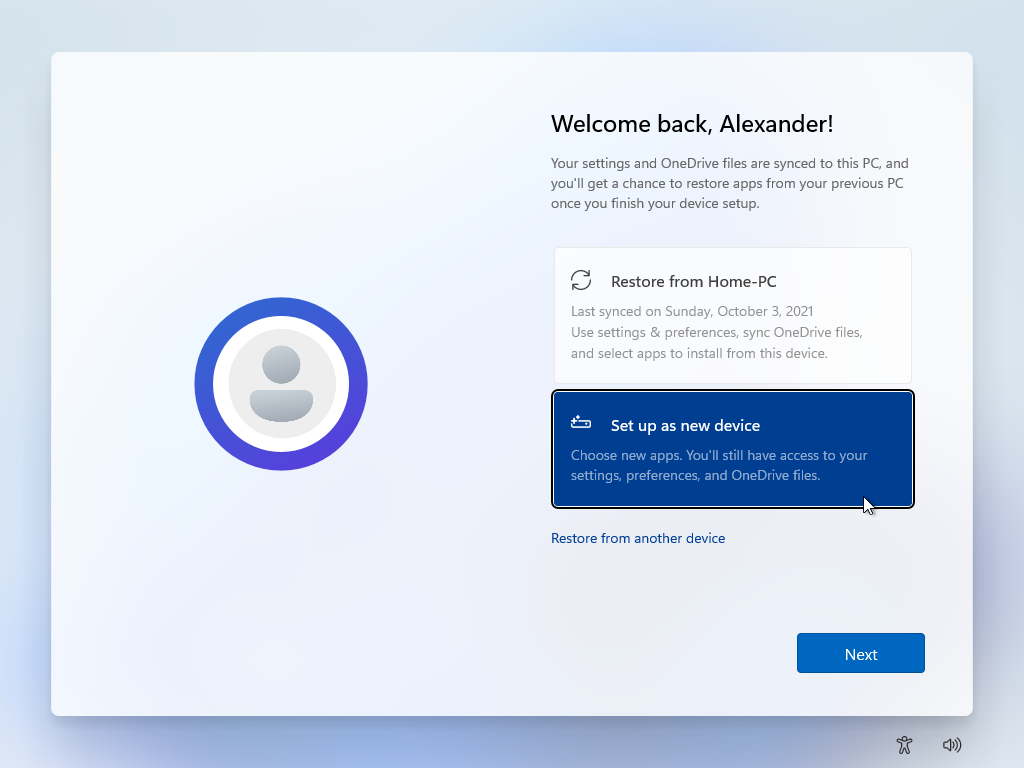
Windows 11 setup: Setup as new device
If you use the same Microsoft account associated with other Windows installations, you can optionally select to restore your desktop settings and preferences from a previous Windows installation. If you do not want to do that and instead would rather set this system up as a completely new device, then select Set up as new device and then click Next to choose the privacy settings for your new device.
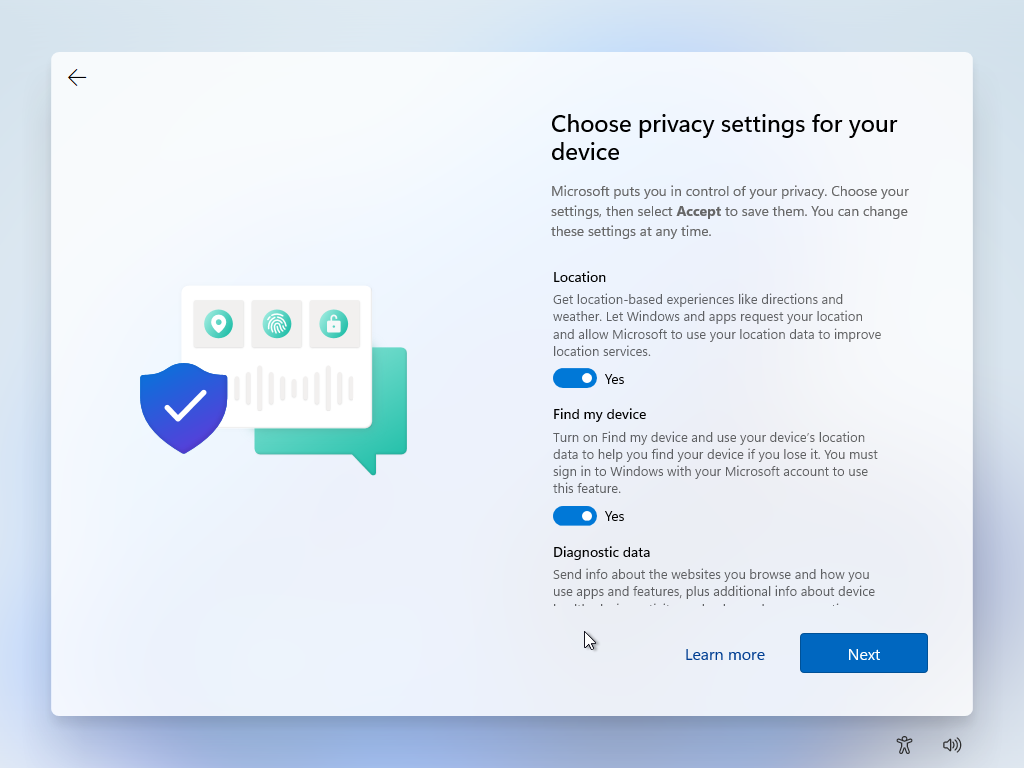
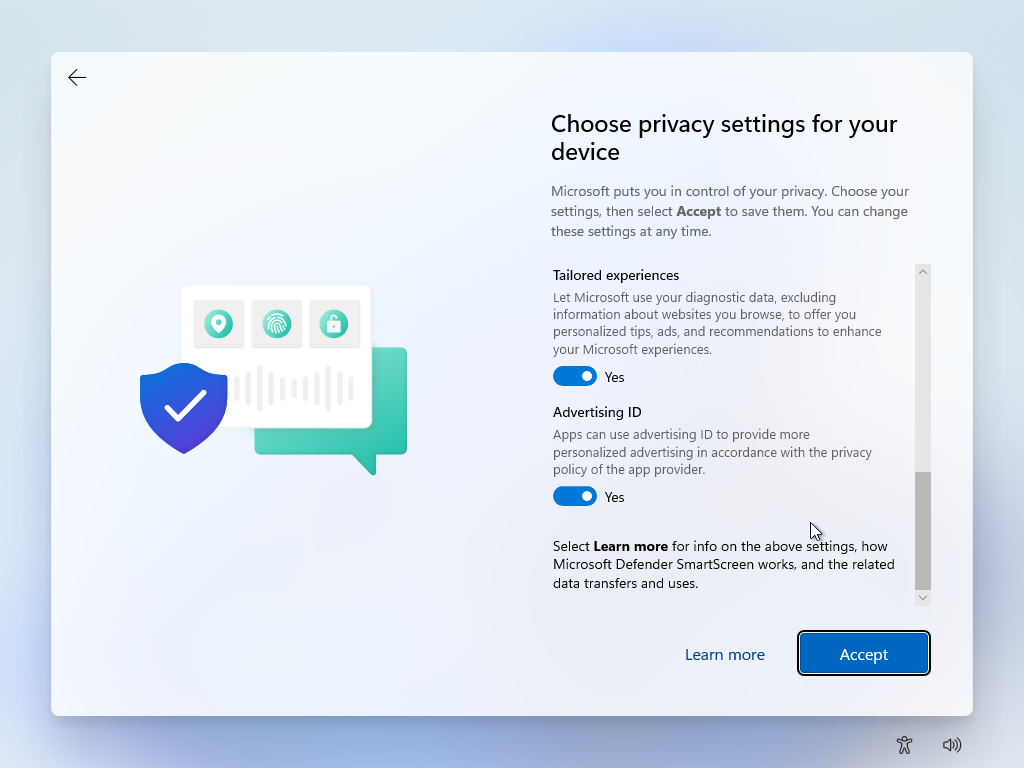
Windows 11 setup: Privacy settings
In total there are three different Windows 11 privacy screens that you can work with. You can change any of the settings on each screen or simply accept the defaults by clicking Next, Next, and then Accept.
Windows 11 setup: Customize your experience
This screen allows you to customize the way Windows 11 will present its Start menu and desktop. You can select any, all, or none of the options shown on this screen. No matter what you select you can always manually customize the desktop later on. To select any of the items shown here simply check the boxes on the right side of the screen. If you’re unsure or you don’t want any of them at this time, click the Skip.
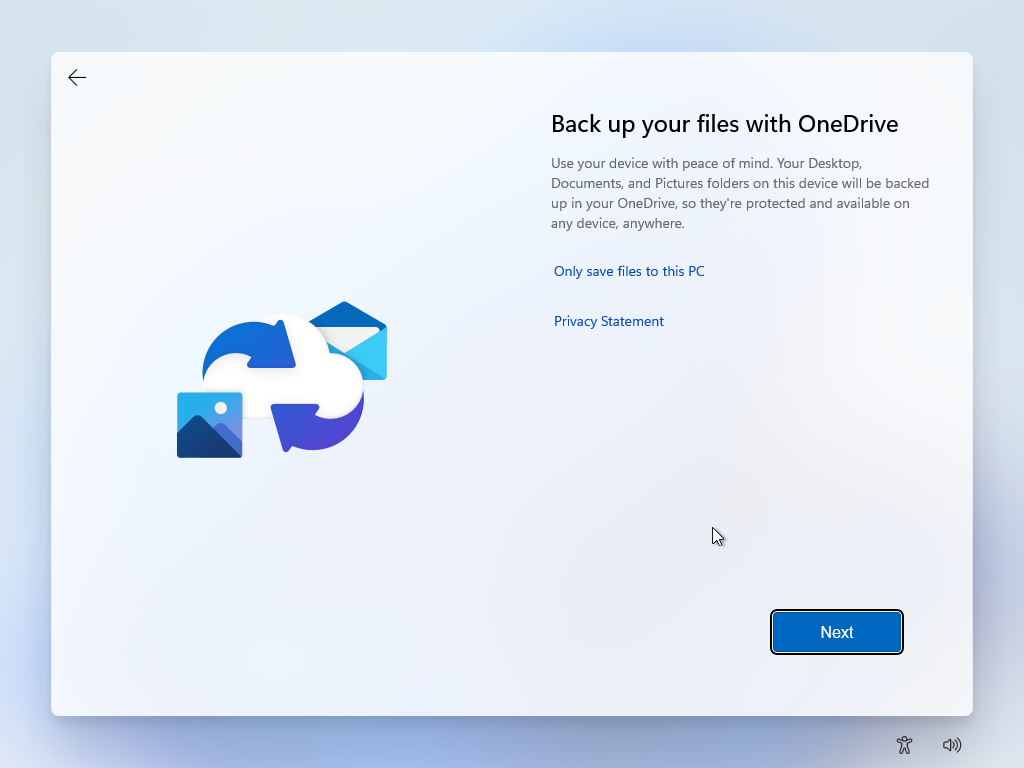
Windows 11 setup: Backup to OneDrive
Next, the Windows 11 setup process asks if you want to back up your files to OneDrive. OneDrive is Microsoft’s cloud storage option and selecting this link will save your Desktop, Documents, and Pictures folders to OneDrive. If you want to use the OneDrive backup option, click Next. If you don’t want to do this or if you’re using another backup or cloud storage option, then you can go ahead and select the Only save files to this PC link.
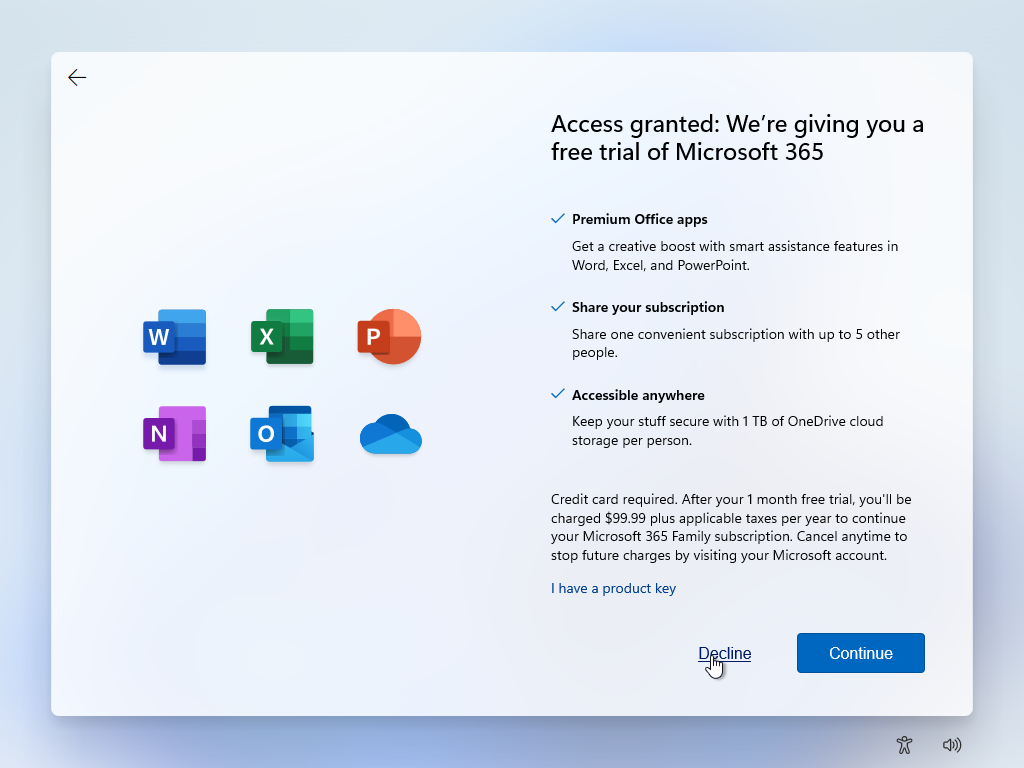
Windows 11 setup: Office 365 trial
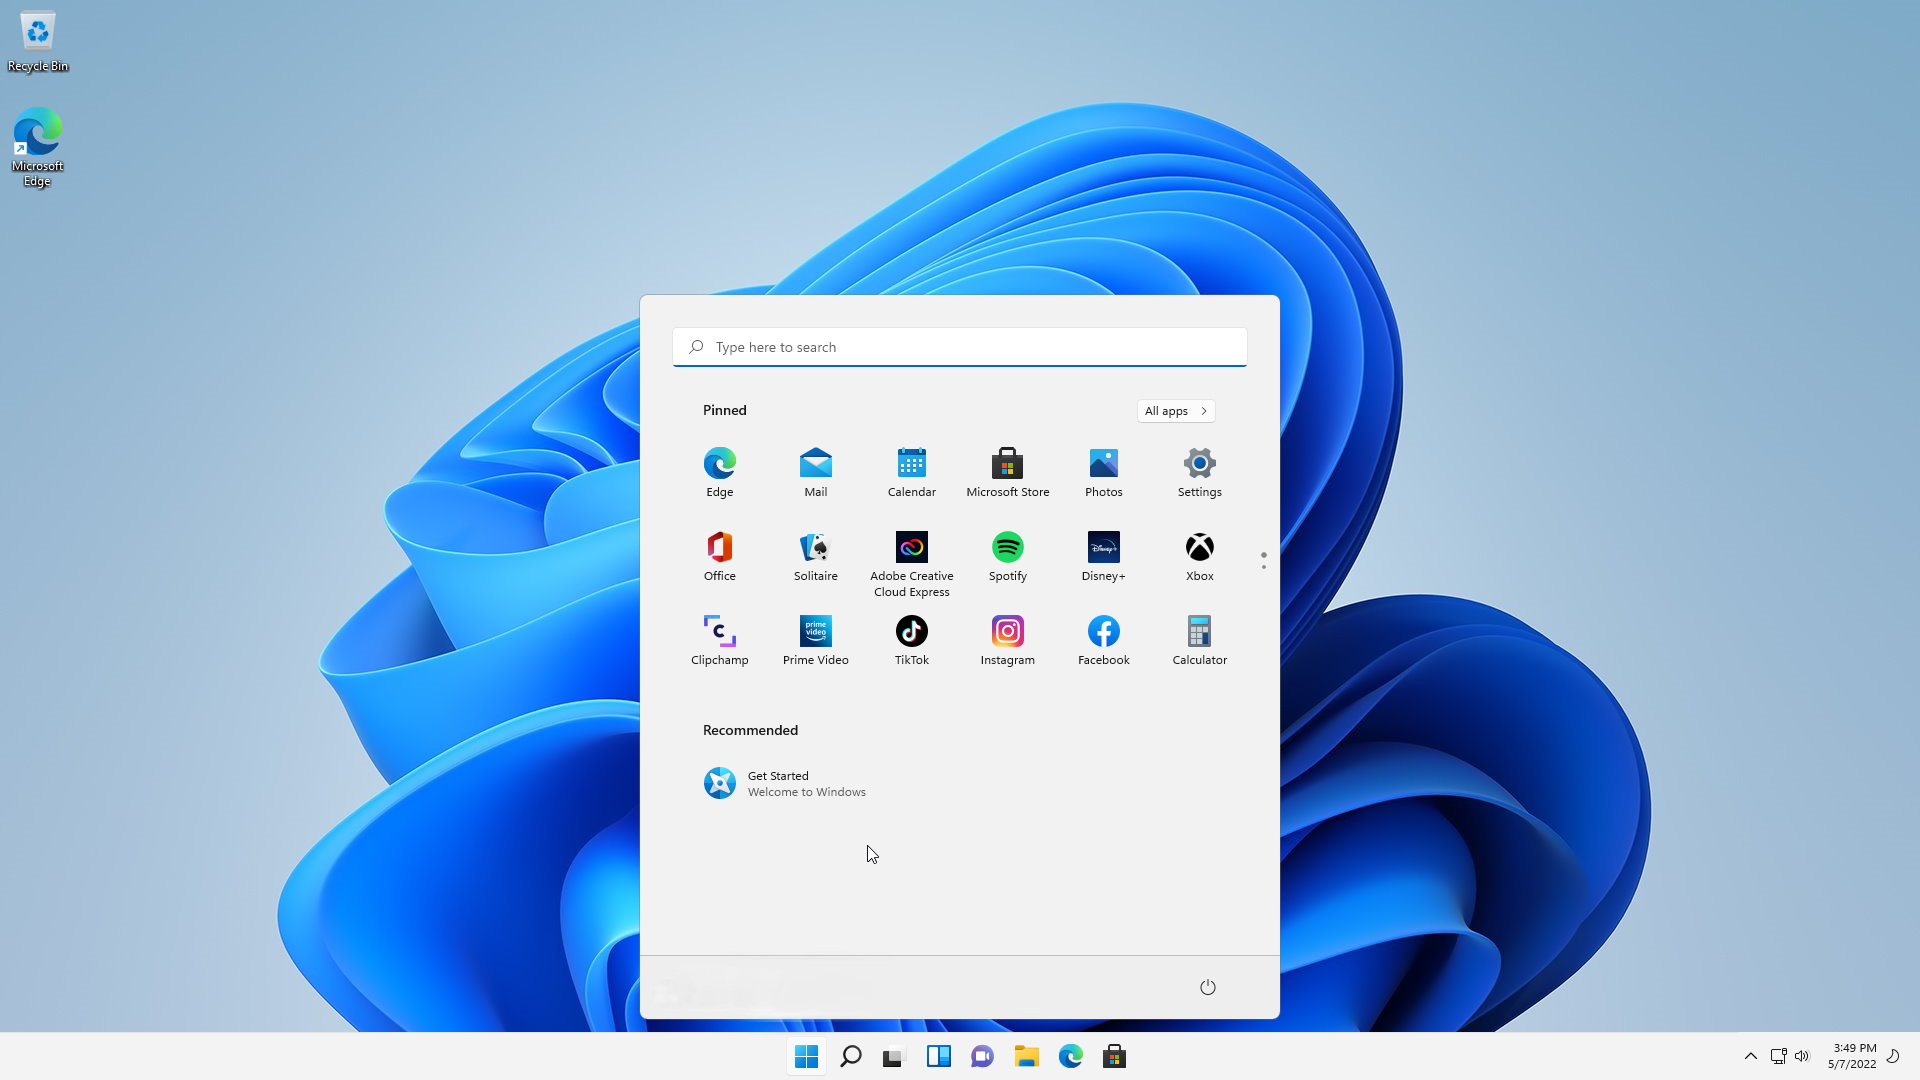
The Try premium Office apps for free with Microsoft 365 is the final screen in the initial Windows 11 setup process. If you already have a Microsoft 365 subscription, you can click the I have a product key link and your licensed version will be installed. If you want the 30-day free trial, you can click the Try for free button. If you don’t want the trial or you’re using an on-premise version of Office or an Office alternative, then you can click the Decline link. This will complete the initial setup process and the next screen that you will see will be the Windows 11 desktop.
